1 Overview
The Organization Setup page is where you configure the foundational structure of your company in the HRMS system. This includes:
Offices
Define your physical office locations with addresses, timezones, geofencing, and weekend policies.
Departments
Create your organizational hierarchy with departments and sub-departments.
Designations
Set up job titles with salary ranges and role assignments.
Shifts
Configure work schedules including start/end times, breaks, and working days.
Shift Rosters
Assign employees to specific shifts with start and end dates.
Holidays
Manage your holiday calendar with national, regional, and company-specific holidays.
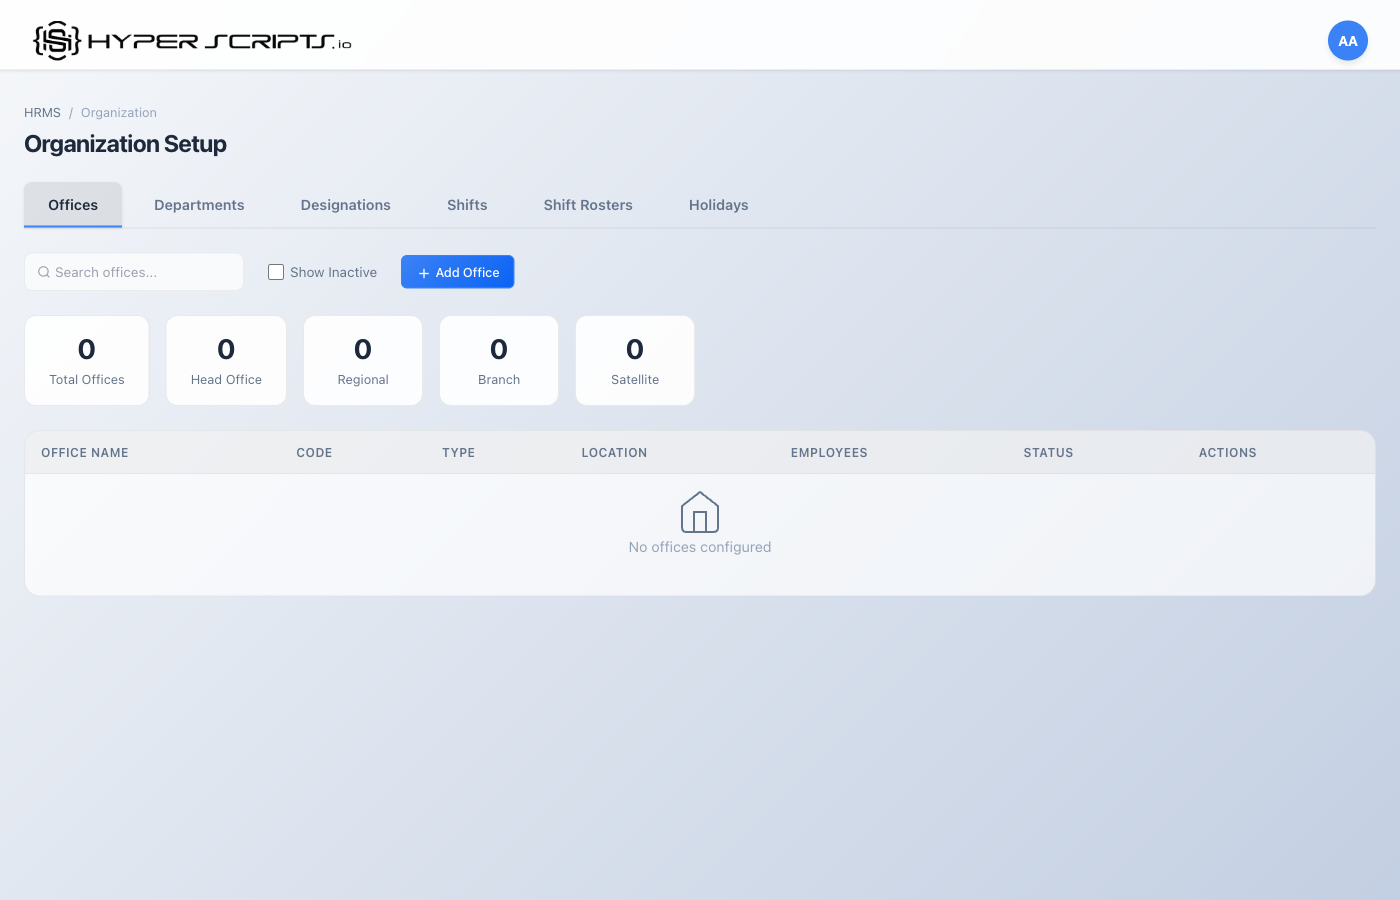
2 Offices
Offices represent your physical work locations. Each office has its own address, timezone, geofencing settings for attendance tracking, and weekend policy.
Step-by-Step: Creating Your First Office
Follow these steps to create an office. We'll create "Mumbai Headquarters" as an example.
Step 1: Click Add Office
Click the "Add Office" button to open the Create Office modal.

Step 2: Fill in Office Details
Enter all the required information for your office:

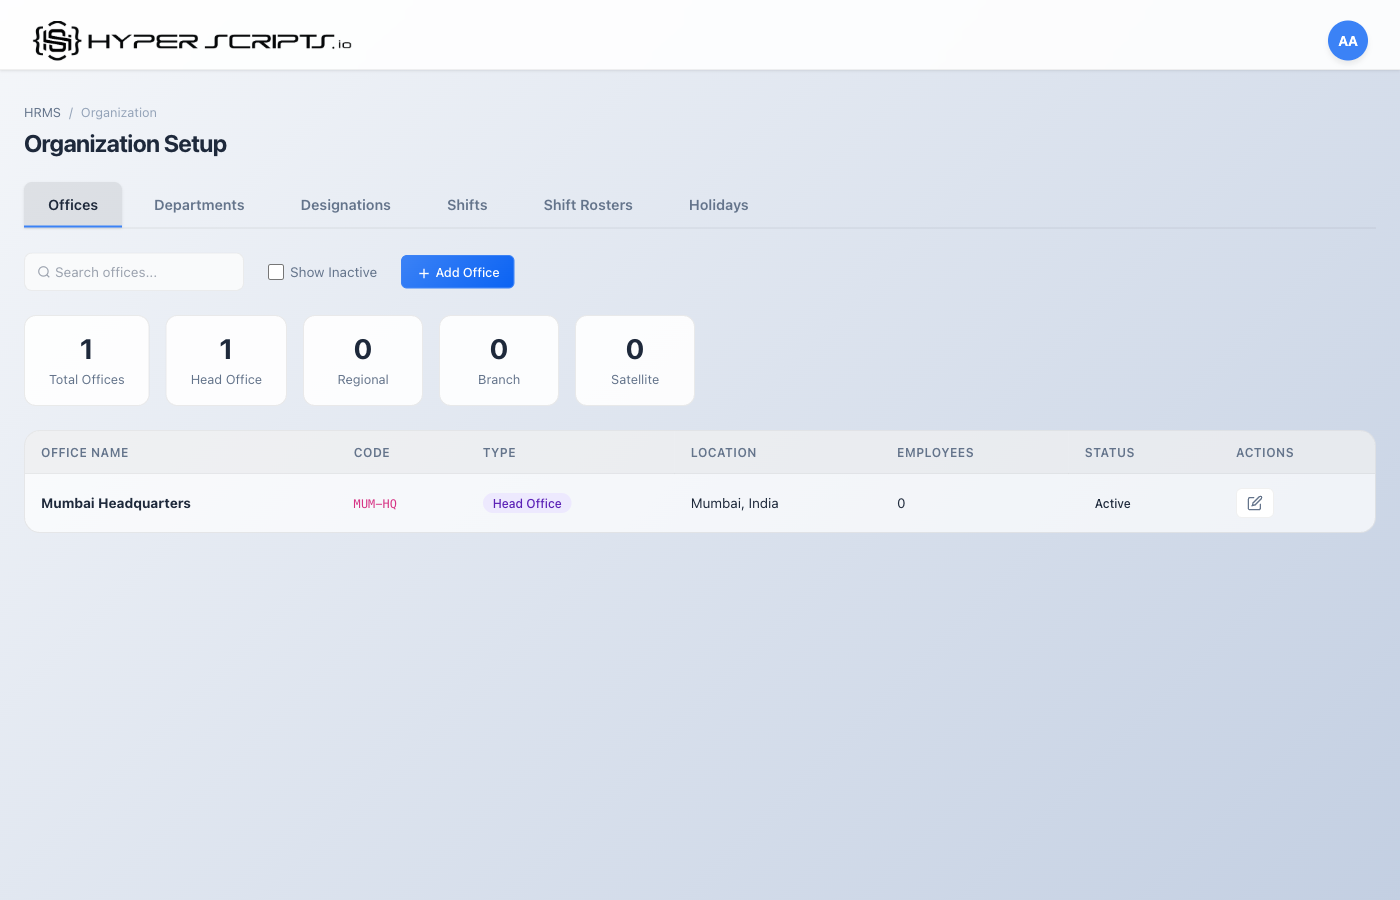
Step 3: View the Result
After saving, you'll see the office in the list and the stats cards will update:

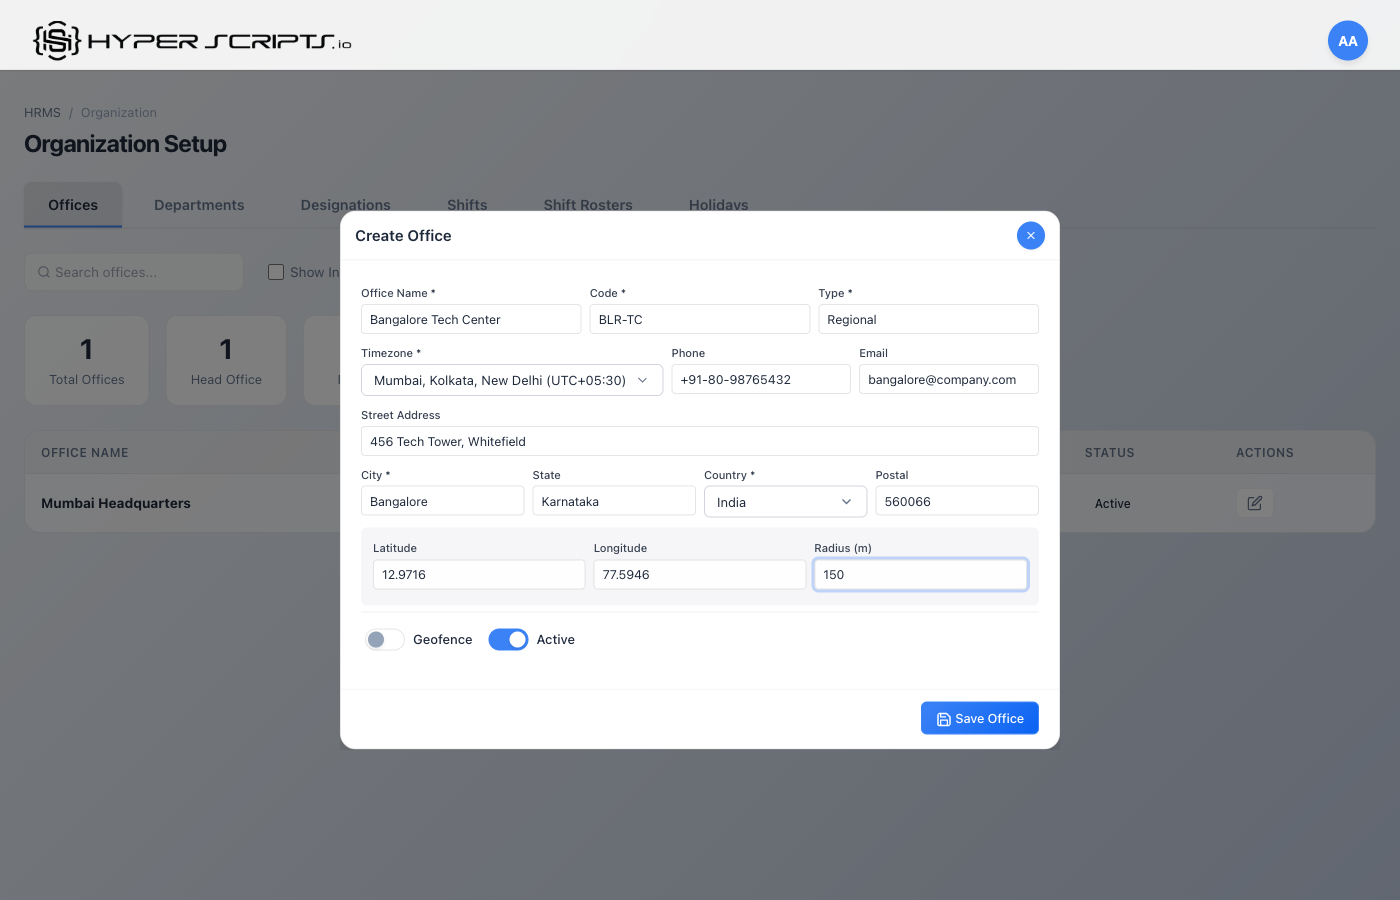
Creating a Second Office
Let's add a regional office in Bangalore:

Offices List View
The Offices tab displays all configured offices in a table format. You can see key information at a glance:

Table Columns Explained
| Column | Description |
|---|---|
| Office Name | The display name of the office (e.g., "Mumbai Headquarters") |
| Code | A unique short code for the office (e.g., "MUM-HQ") |
| Location | City and country where the office is located |
| Timezone | The timezone used for attendance and scheduling |
| Weekend Policy | Which days are considered weekends (affects leave calculations) |
| Status | Active or Inactive status; shows HQ badge for headquarters |
| Actions | Edit or delete buttons |
Creating a New Office
Click the "Add Office" button to open the Create Office modal.
Field Descriptions
| Field | Required | Description |
|---|---|---|
| Office Name | Required | Full name of the office (e.g., "Bangalore Tech Park") |
| Office Code | Required | Unique identifier code (e.g., "BLR-TP"). Used in reports. |
| Address | Optional | Street address of the office |
| City | Required | City where office is located |
| State | Optional | State/Province (important for location taxes) |
| Country | Required | Country where office is located |
| Postal Code | Optional | ZIP/Postal code |
| Phone | Optional | Office contact phone number |
| Optional | Office contact email address | |
| Timezone | Required | Select from dropdown. Affects attendance timestamps. |
| Weekend Policy | Required | Choose which days are weekends: - sat_sun: Saturday & Sunday- fri_sat: Friday & Saturday- sun_only: Sunday only |
| Latitude & Longitude | Optional | GPS coordinates for geofencing. Enter manually or use map picker. |
| Geofence Radius | Optional | Radius in meters for attendance check-in validation |
| Is Headquarters | Optional | Toggle ON if this is your main/headquarters office |
Office Status Badges
The Offices list displays visual badges to indicate special configurations:
Badge Types
| Badge | Meaning |
|---|---|
| HQ (Purple) | This office is marked as Headquarters |
| Geofencing (Blue) | Geofencing is enabled - employees must be within radius to clock in |
Editing an Office
Click the Edit (pencil icon) button on any office row to modify its settings. The modal will open with all fields pre-filled with current values.
3 Departments
Departments organize your workforce into functional groups. They support hierarchical structures with parent-child relationships.
Step-by-Step: Creating Departments
Follow these steps to create departments. We'll create Engineering, Human Resources, Product, and Quality Assurance departments.
Step 1: View Empty Departments Tab
When you first navigate to the Departments tab, you'll see an empty state:
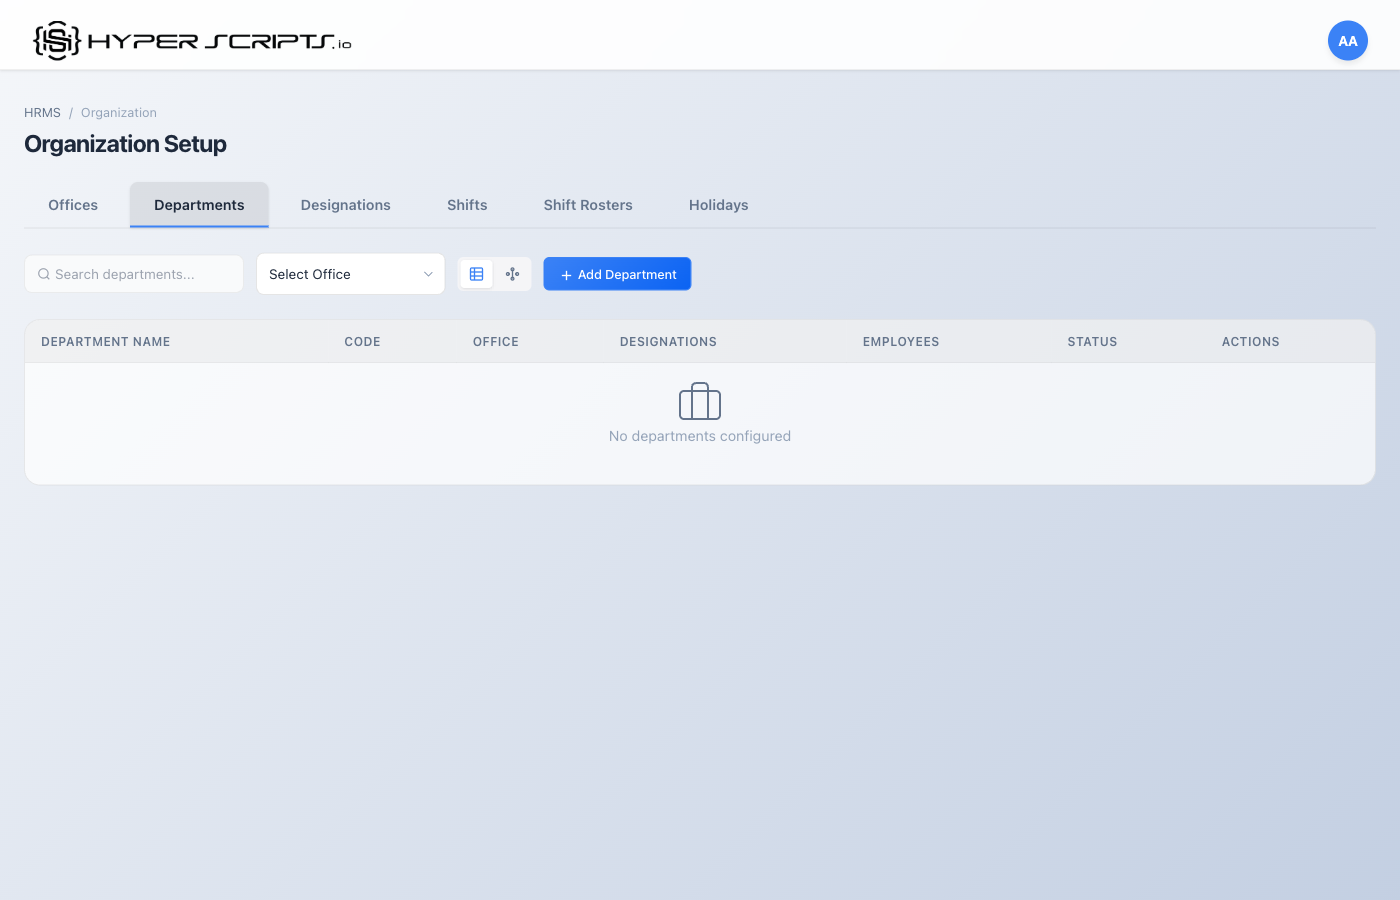
Step 2: Click Add Department
Click the "Add Department" button to open the Create Department modal:
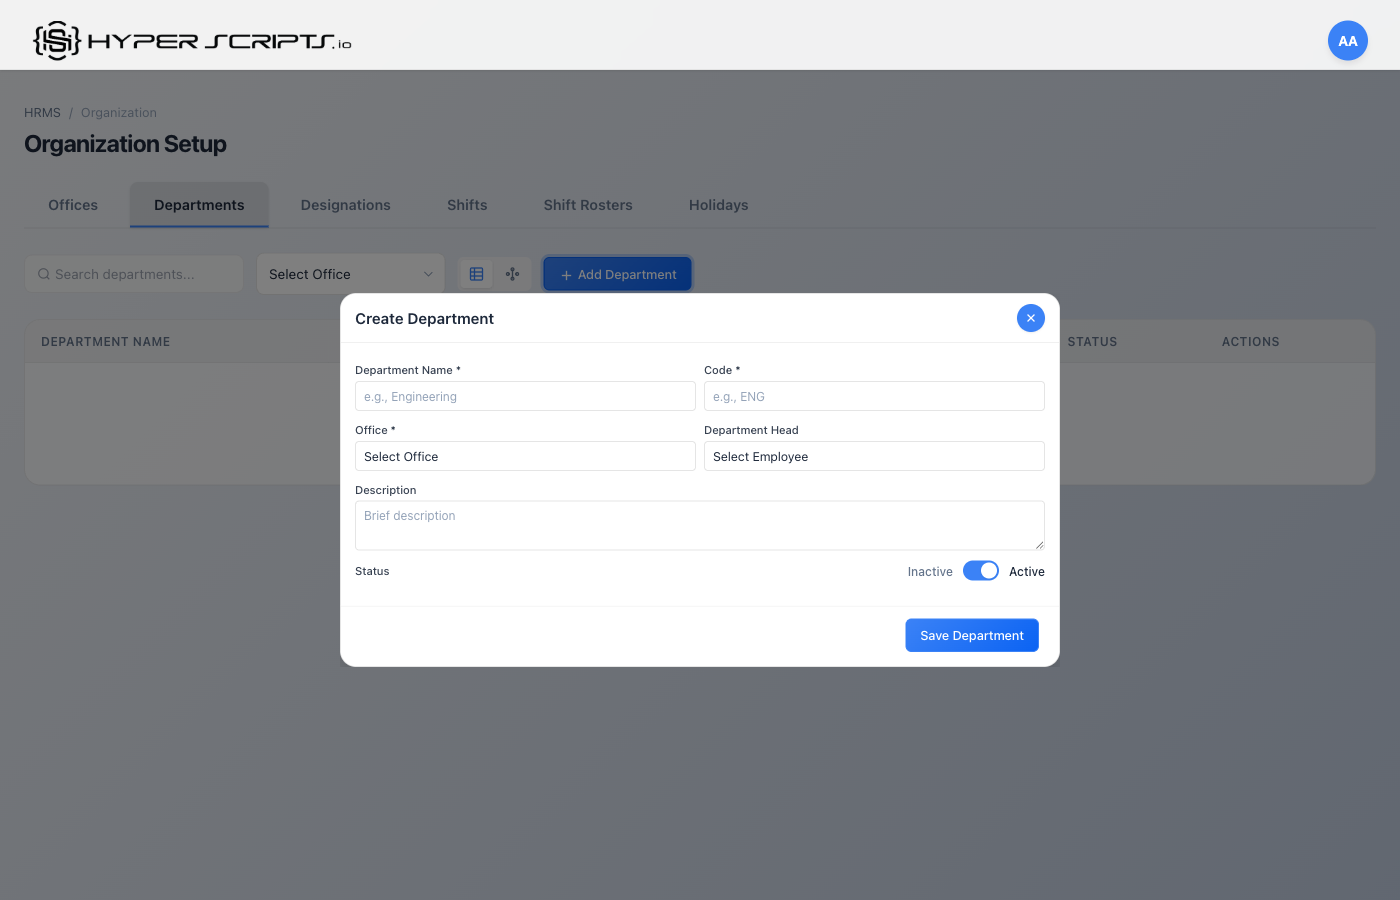
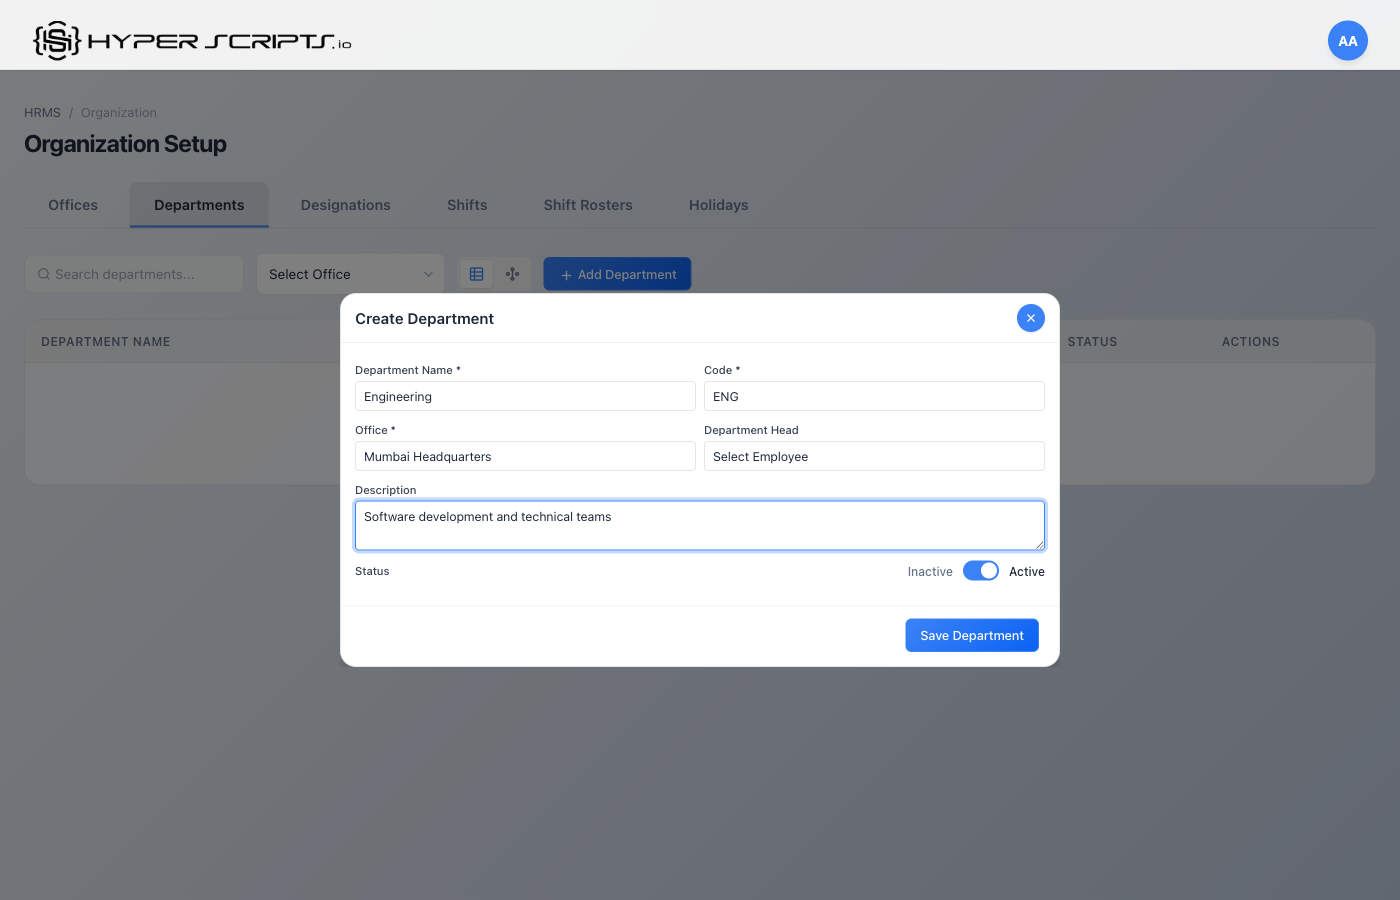
Step 3: Fill in Department Details
Enter the department information. Here's an example for the Engineering department:
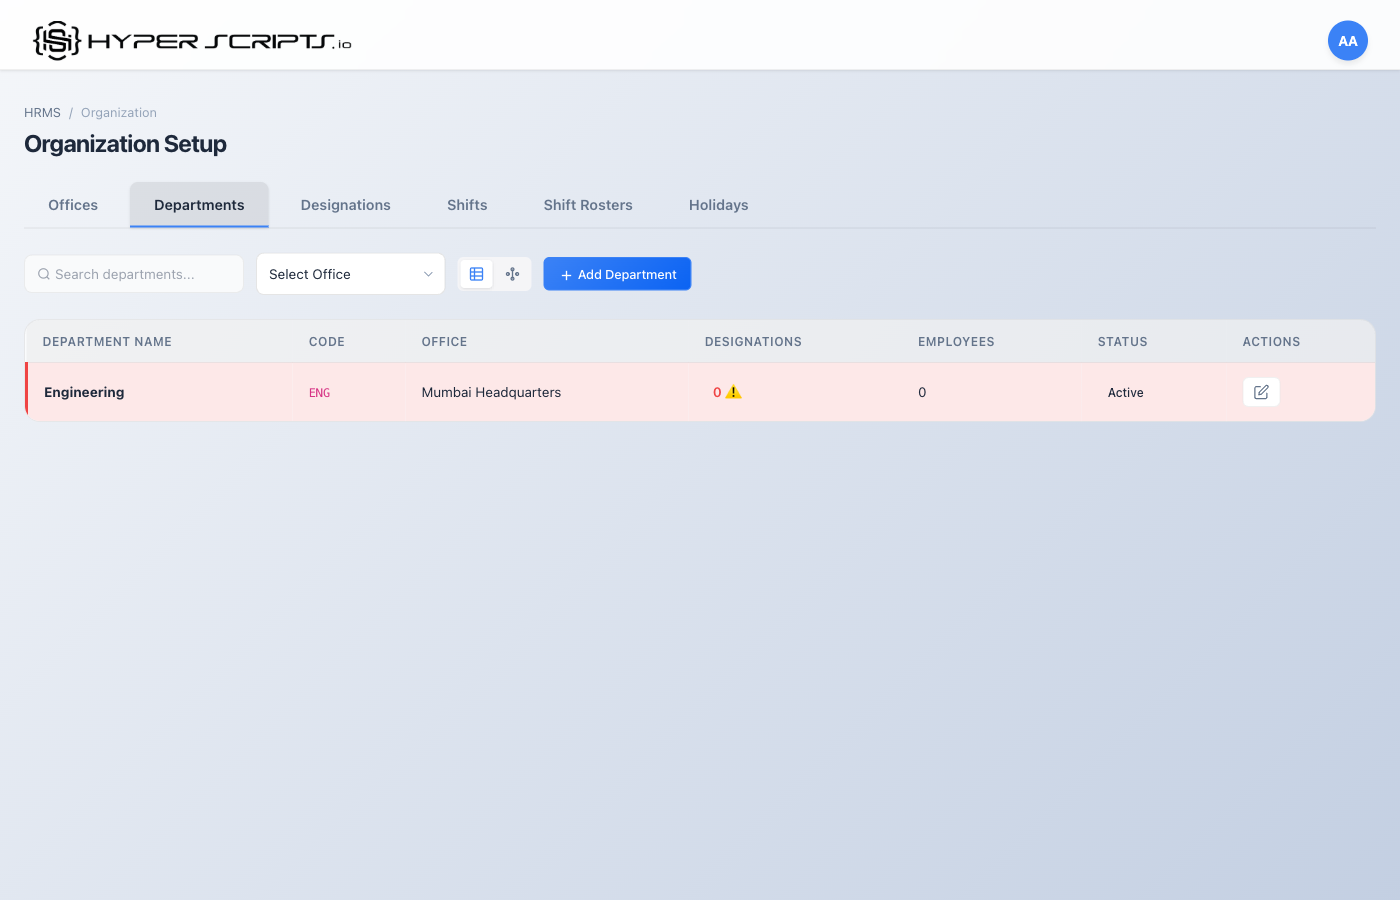
Step 4: View the Result
After saving, you'll see the department in the list:
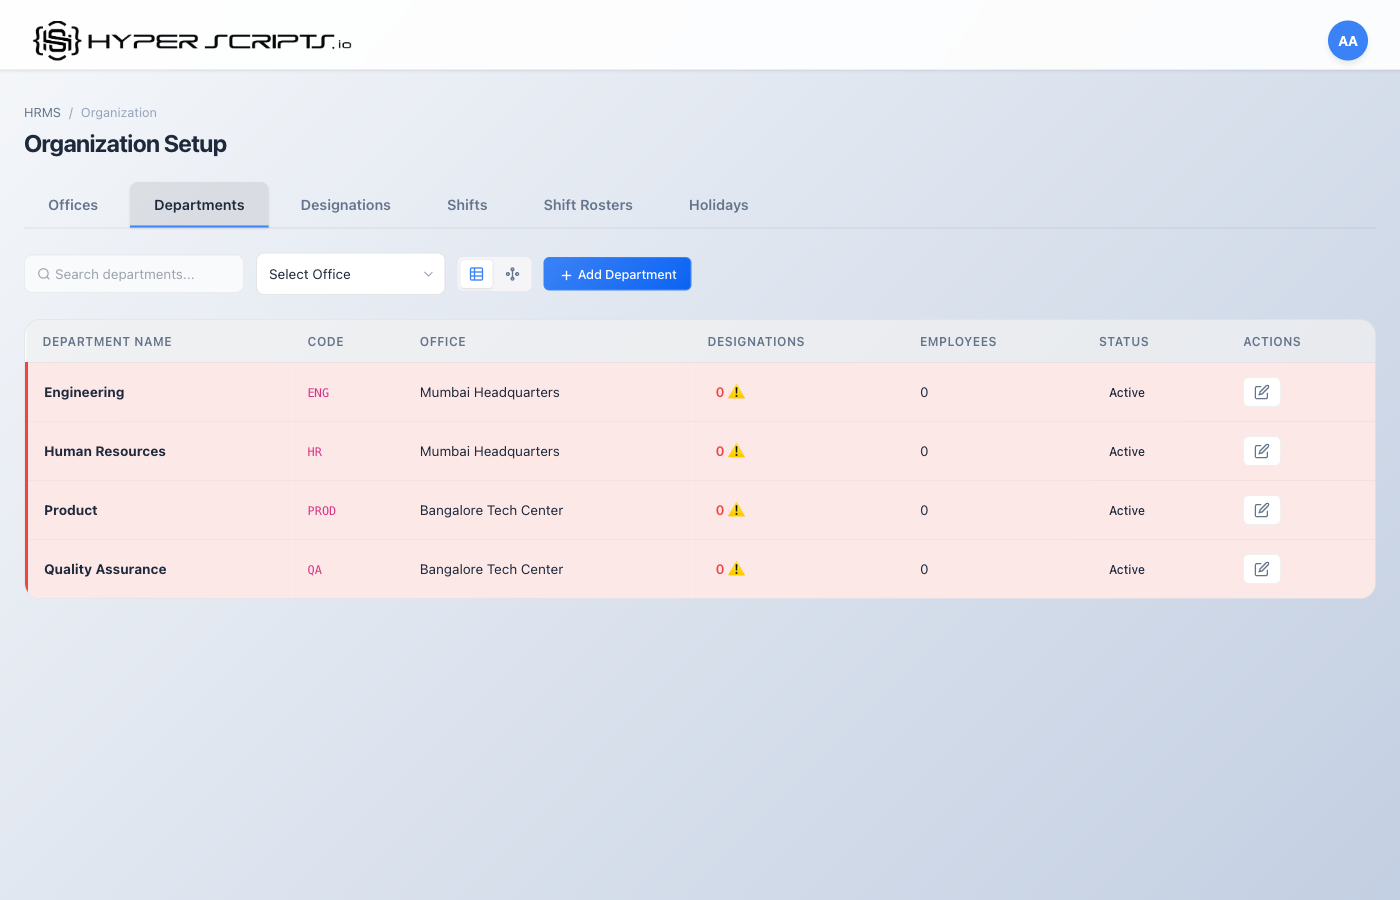
Step 5: Create All Departments
Repeat the process to create all required departments (Engineering, HR, Product, QA):
Departments List View

Table Columns
| Column | Description |
|---|---|
| Department | Name of the department |
| Code | Unique identifier code |
| Parent Department | Shows if this is a sub-department of another |
| Head | Department head/manager (if assigned) |
| Employee Count | Number of employees in this department |
| Status | Active or Inactive |
| Actions | Edit or delete buttons |
Department Hierarchy View
Click the "View Hierarchy" button to see your organizational structure as a visual tree.
Creating a New Department
Field Descriptions
| Field | Required | Description |
|---|---|---|
| Department Name | Required | Full name (e.g., "Software Development") |
| Department Code | Required | Unique code (e.g., "SW-DEV") |
| Parent Department | Optional | Select a parent to make this a sub-department |
| Department Head | Optional | Select an employee to be the department head |
| Description | Optional | Brief description of the department's function |
4 Designations
Designations are job titles with associated salary ranges and optional role assignments. They help standardize job levels across the organization.
Step-by-Step: Creating Designations
Follow these steps to create designations. We'll create 12 designations across different departments.
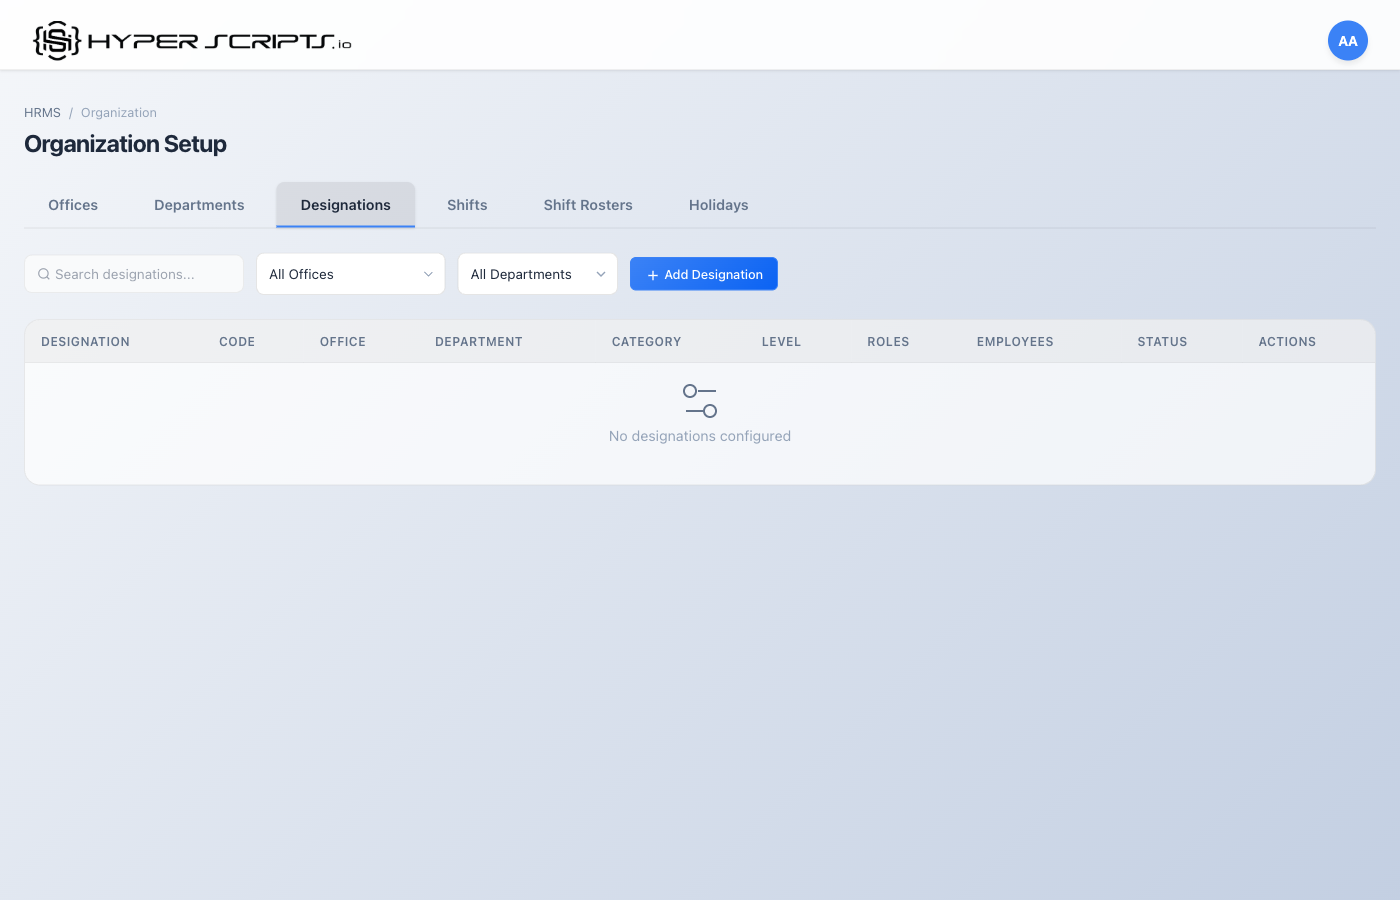
Step 1: View Empty Designations Tab
When you first navigate to the Designations tab, you'll see an empty state:
Step 2: Click Add Designation
Click the "Add Designation" button to open the Create Designation modal:

Step 3: Select Office and Department
The designation dropdown shows a nested structure of Offices and their Departments:
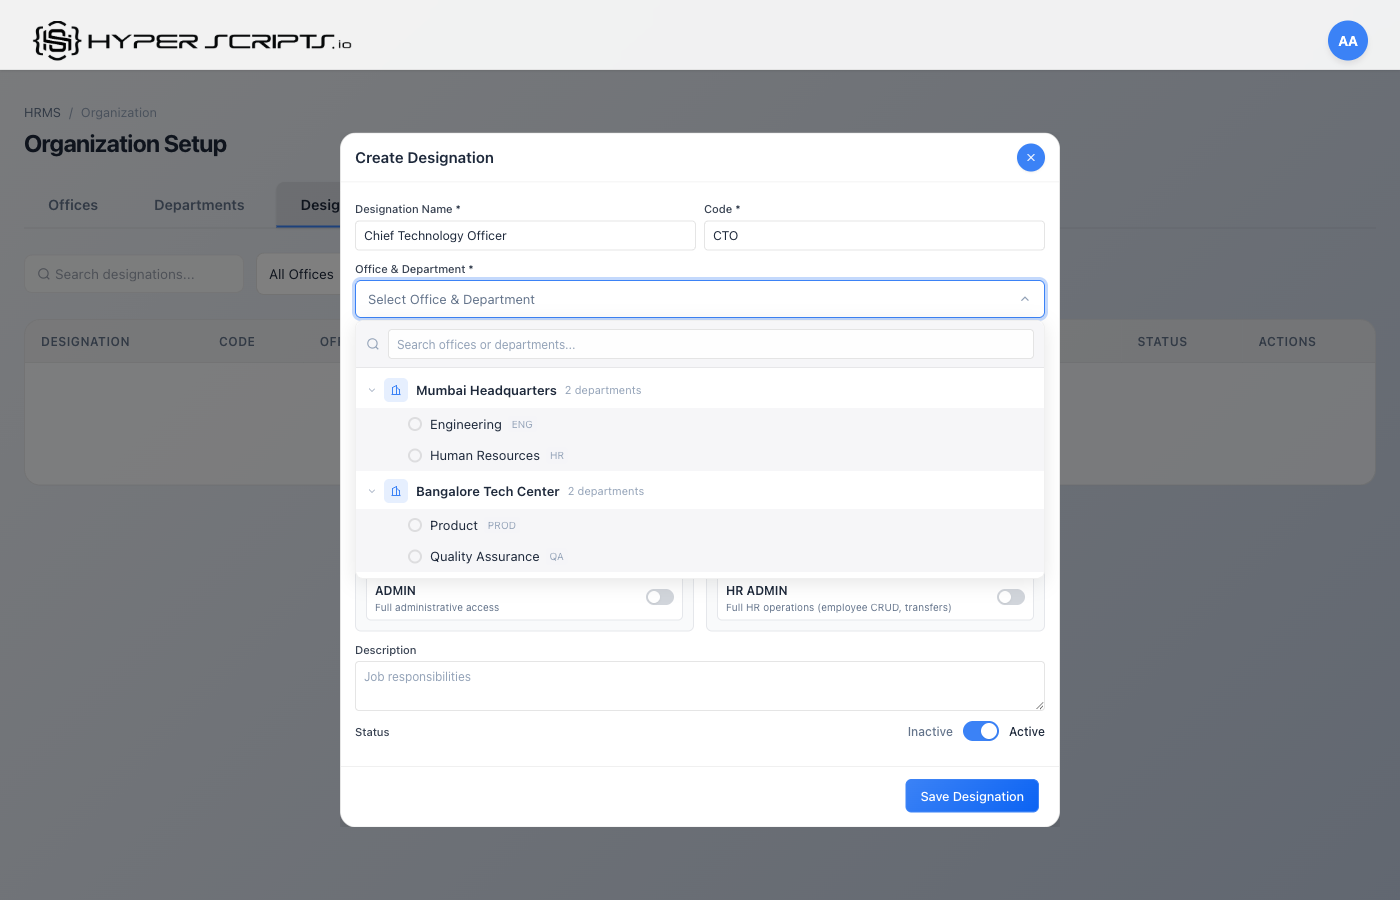
Step 4: Fill in Designation Details
Enter the designation information. Here's an example for the CTO designation:

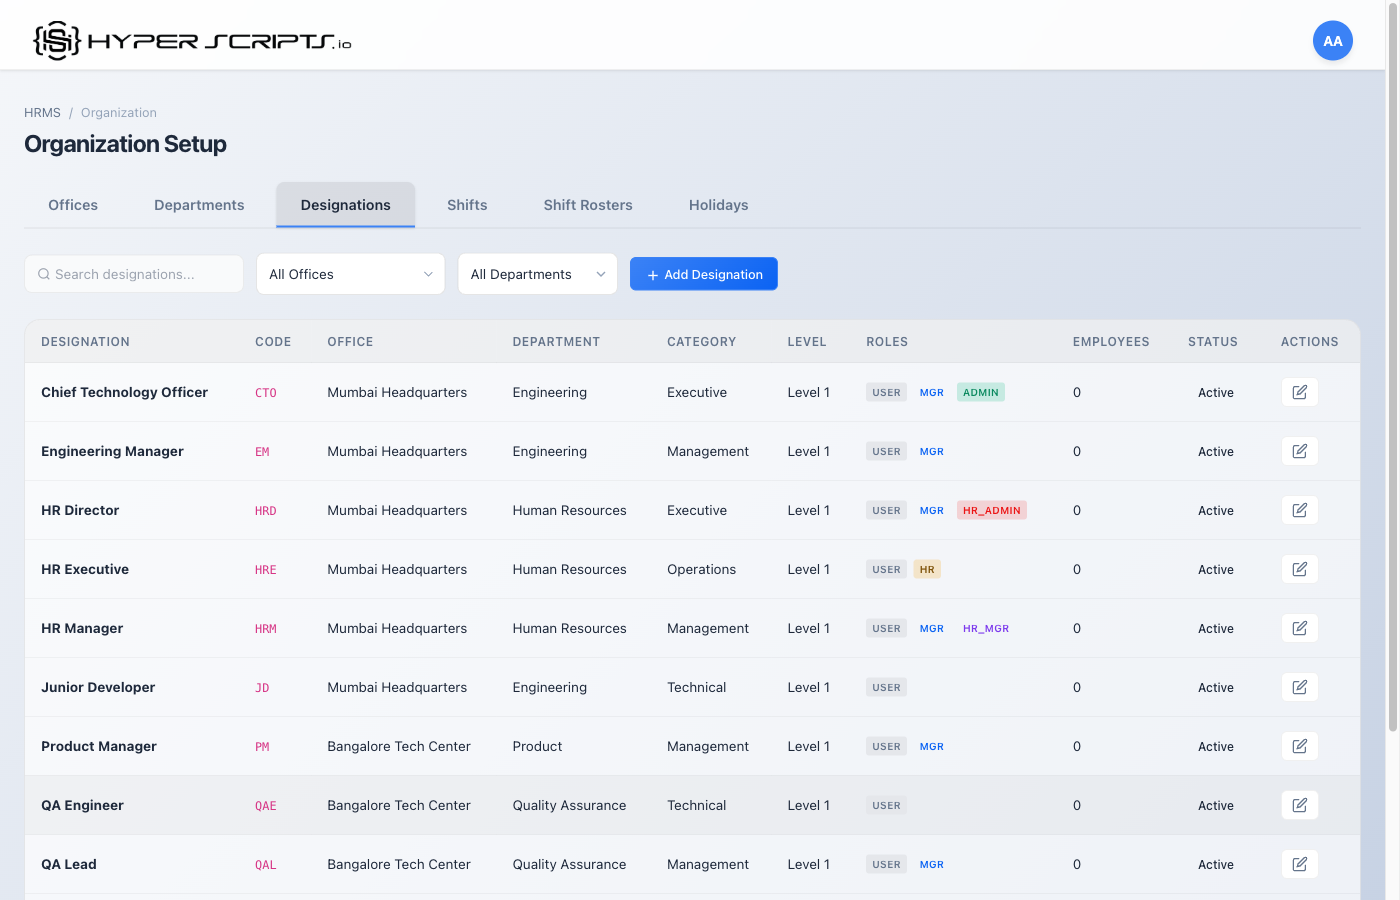
Step 5: View the Result
After saving, you'll see the designation in the list:

Step 6: Create All Designations
Repeat the process to create all 12 designations across different departments:
Designations List View
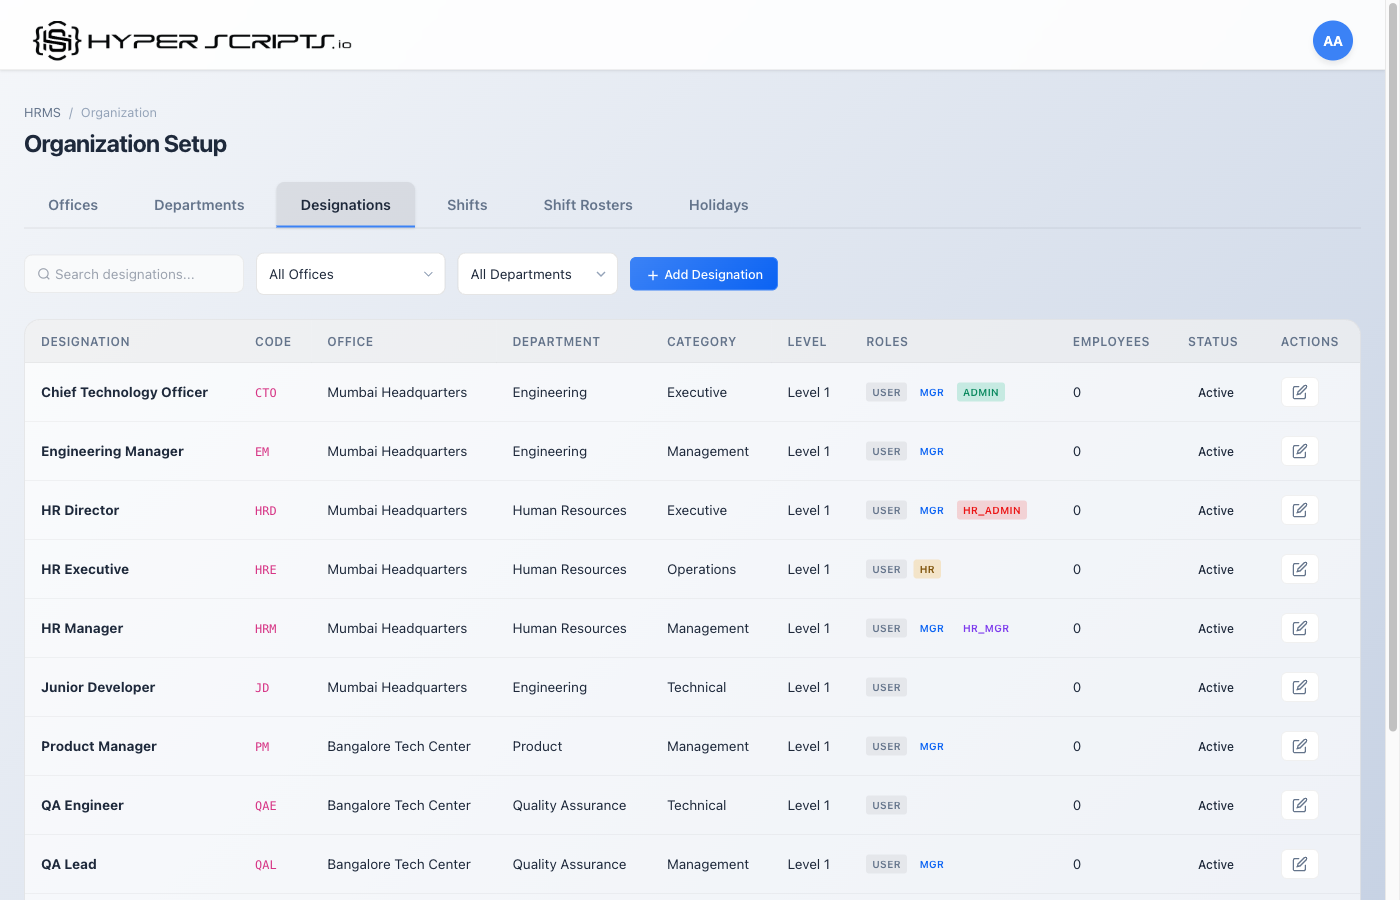
Table Columns
| Column | Description |
|---|---|
| Designation | Job title name |
| Code | Unique identifier |
| Level | Numeric level in hierarchy (higher = more senior) |
| Salary Range | Min-Max salary for this designation |
| Roles | System roles auto-assigned to employees with this designation |
| Status | Active or Inactive |
Creating a New Designation
Field Descriptions
| Field | Required | Description |
|---|---|---|
| Designation Name | Required | Job title (e.g., "Senior Software Engineer") |
| Designation Code | Required | Unique code (e.g., "SSE") |
| Level | Optional | Hierarchy level (1-10 typically) |
| Department | Optional | Restrict designation to specific department |
| Min Salary | Optional | Minimum annual salary for this designation |
| Max Salary | Optional | Maximum annual salary for this designation |
| Is Manager | Optional | If ON, employees with this designation automatically get HRMS_MANAGER role |
| Role Category | Optional | Category for grouping (e.g., "Technical", "Management") |
| Description | Optional | Job description details |
HRMS_MANAGER role, allowing them to approve leave requests and view team attendance.
Filtering Designations by Office
Use the Office filter dropdown to view designations specific to a particular office location. This is useful when different offices have different job titles.
5 Shifts
Shifts define work schedules including start/end times, break durations, and working days. Different teams can have different shifts.
Step-by-Step: Creating Shifts
Follow these steps to create shifts. We'll create 3 shifts: General Day Shift, Flexible Shift, and Early Bird Shift.
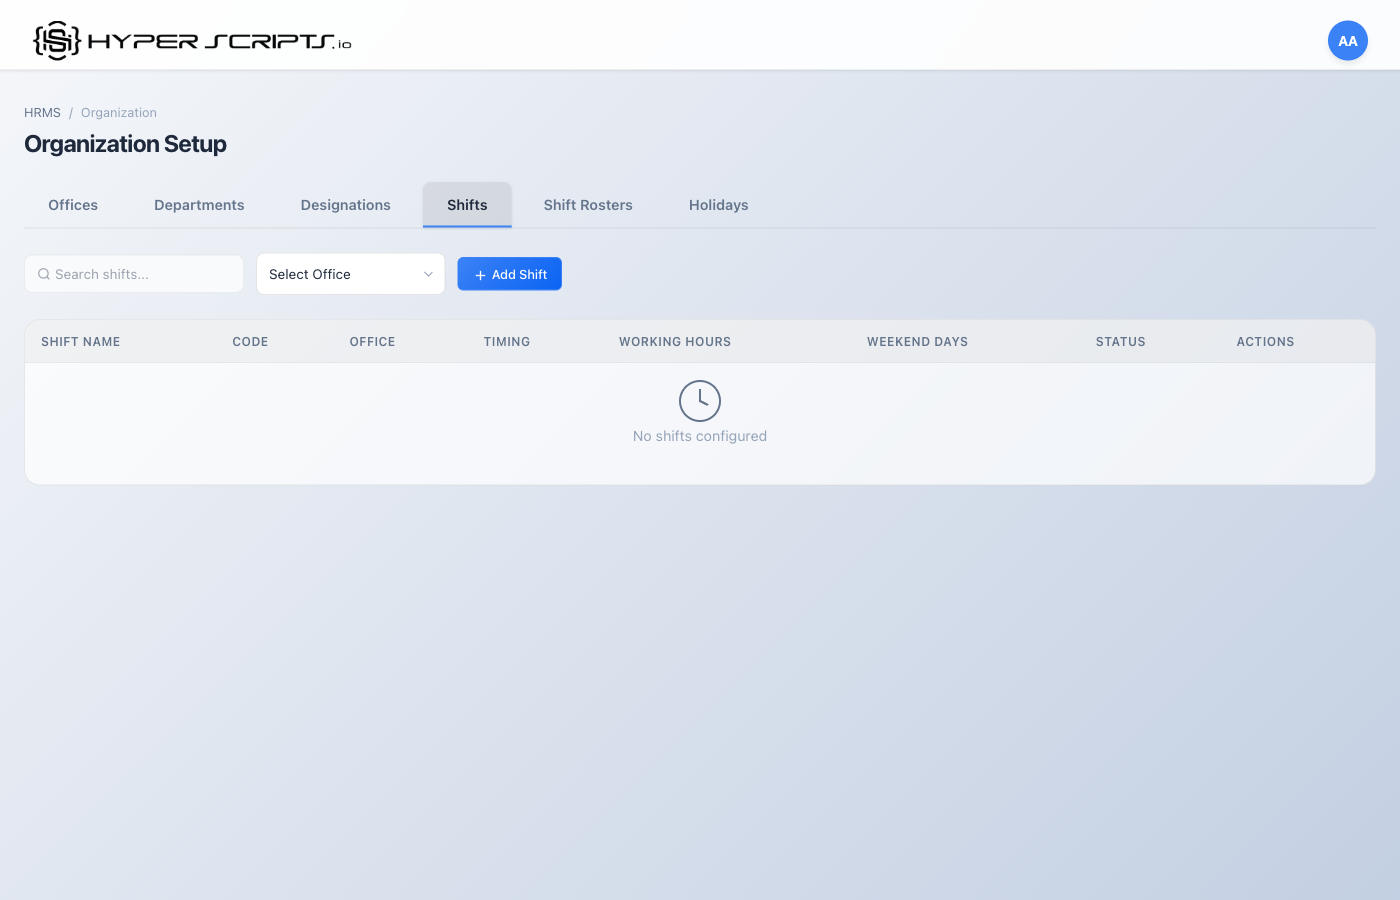
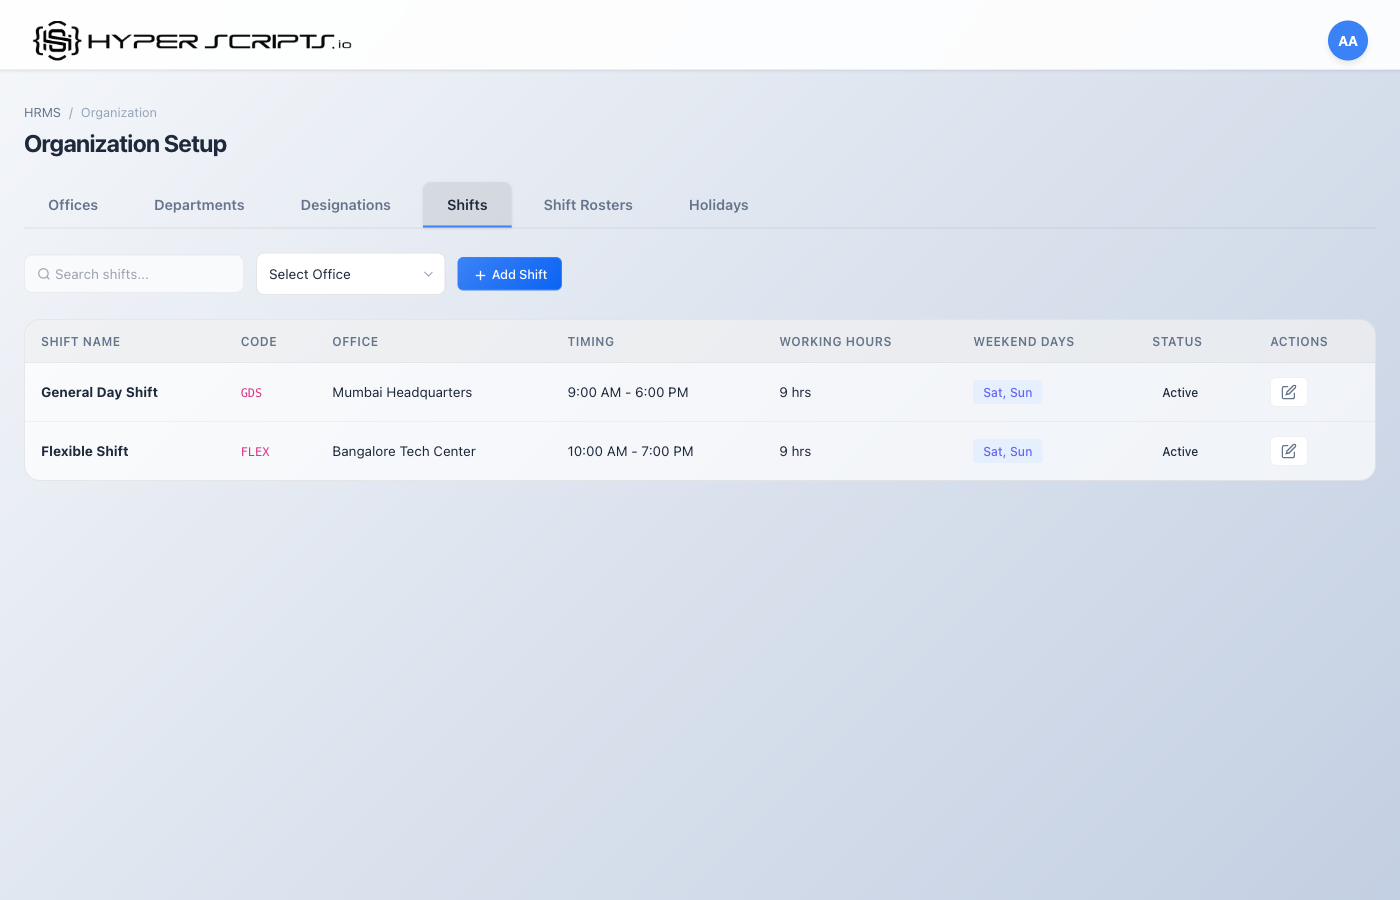
Step 1: View Empty Shifts Tab
When you first navigate to the Shifts tab, you'll see an empty state:
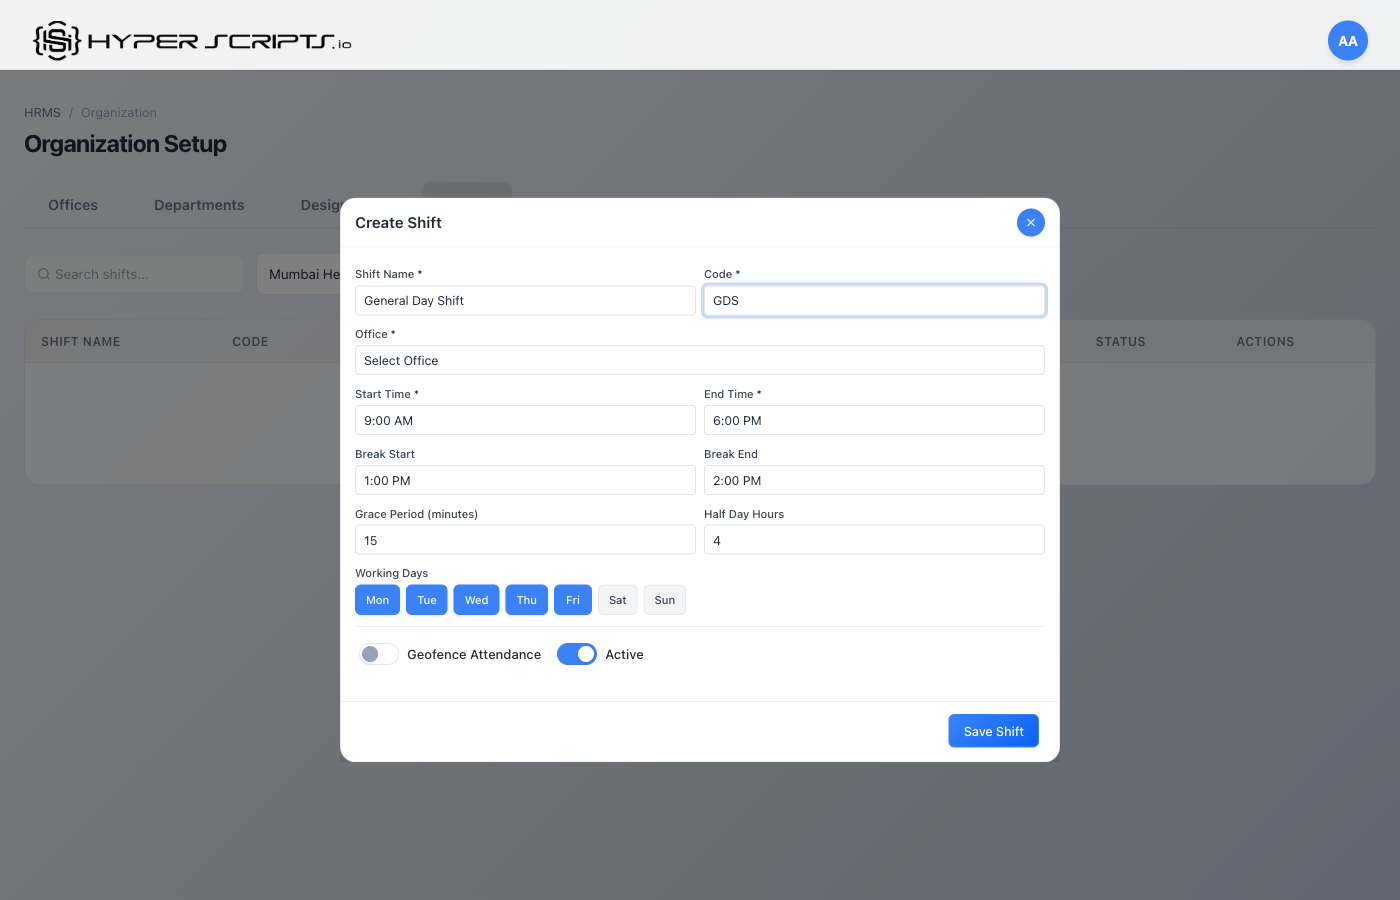
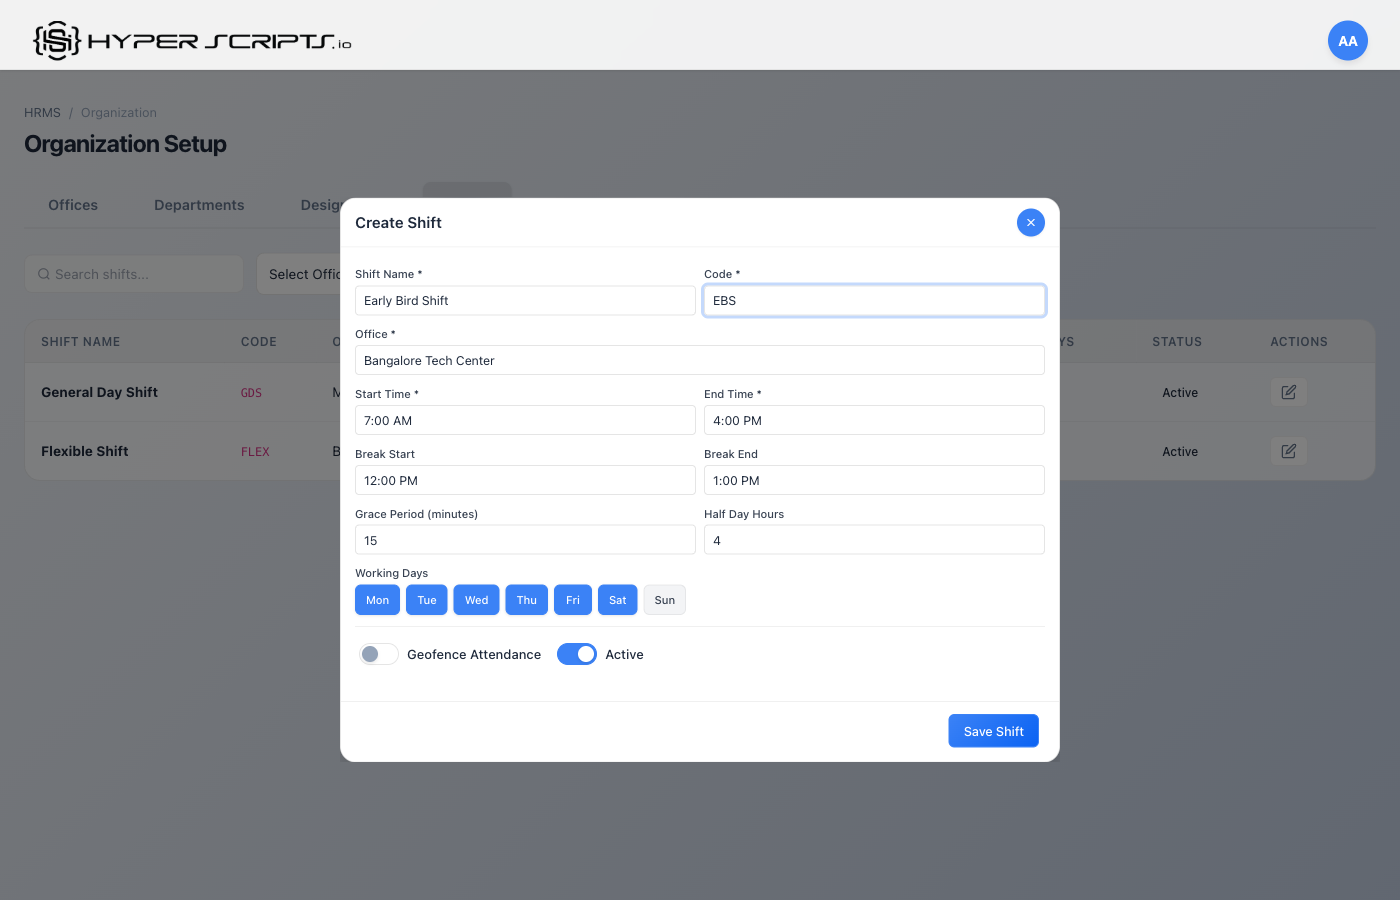
Step 2: Click Add Shift
Click the "Add Shift" button to open the Create Shift modal:

Step 3: Fill in Shift Details - General Day Shift
Enter the shift information. Here's an example for the General Day Shift (9:00 AM - 6:00 PM):
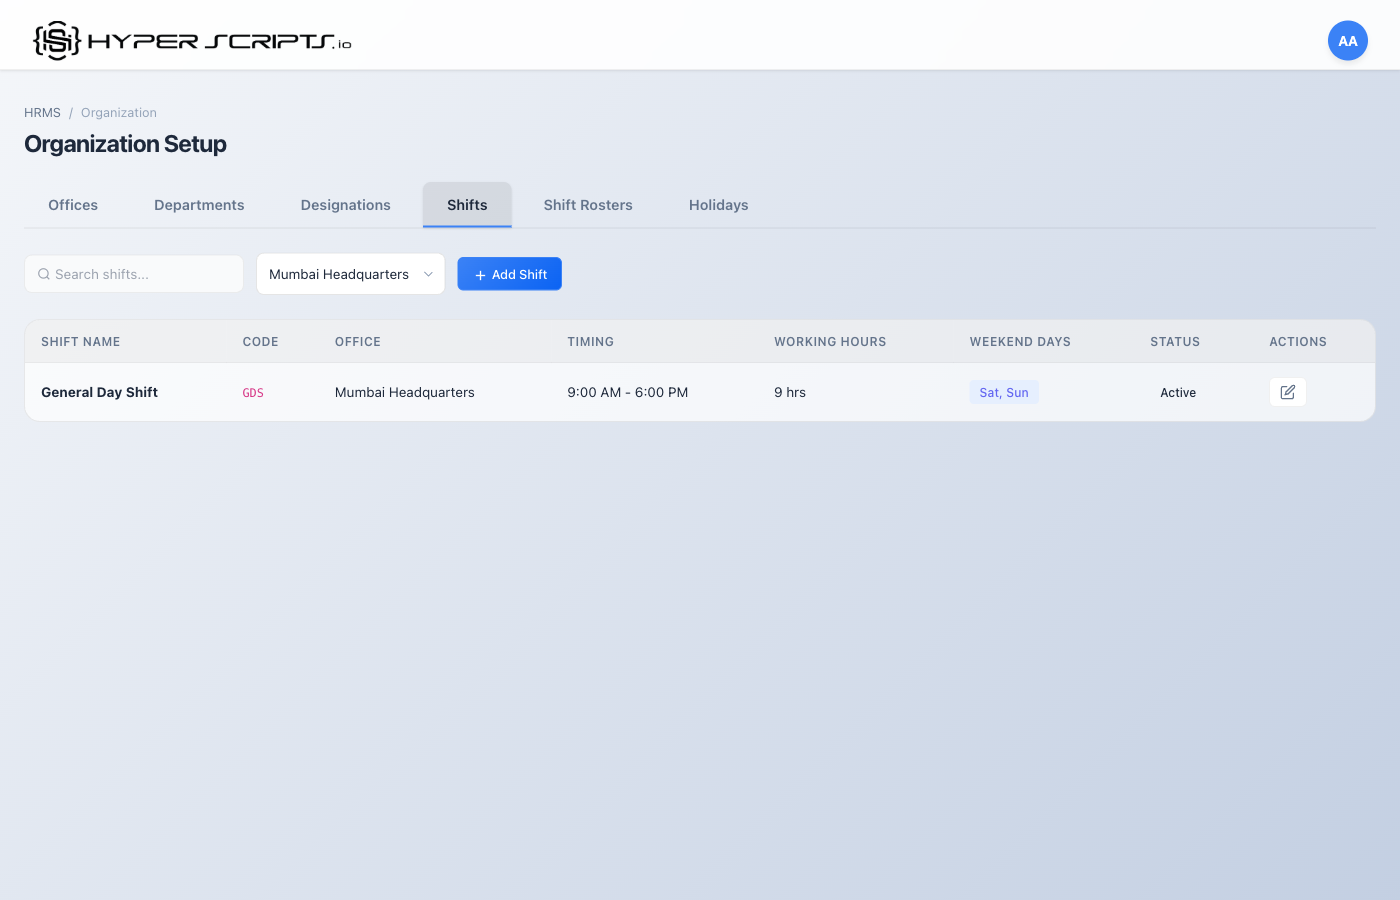
Step 4: View the Result
After saving, you'll see the shift in the list:
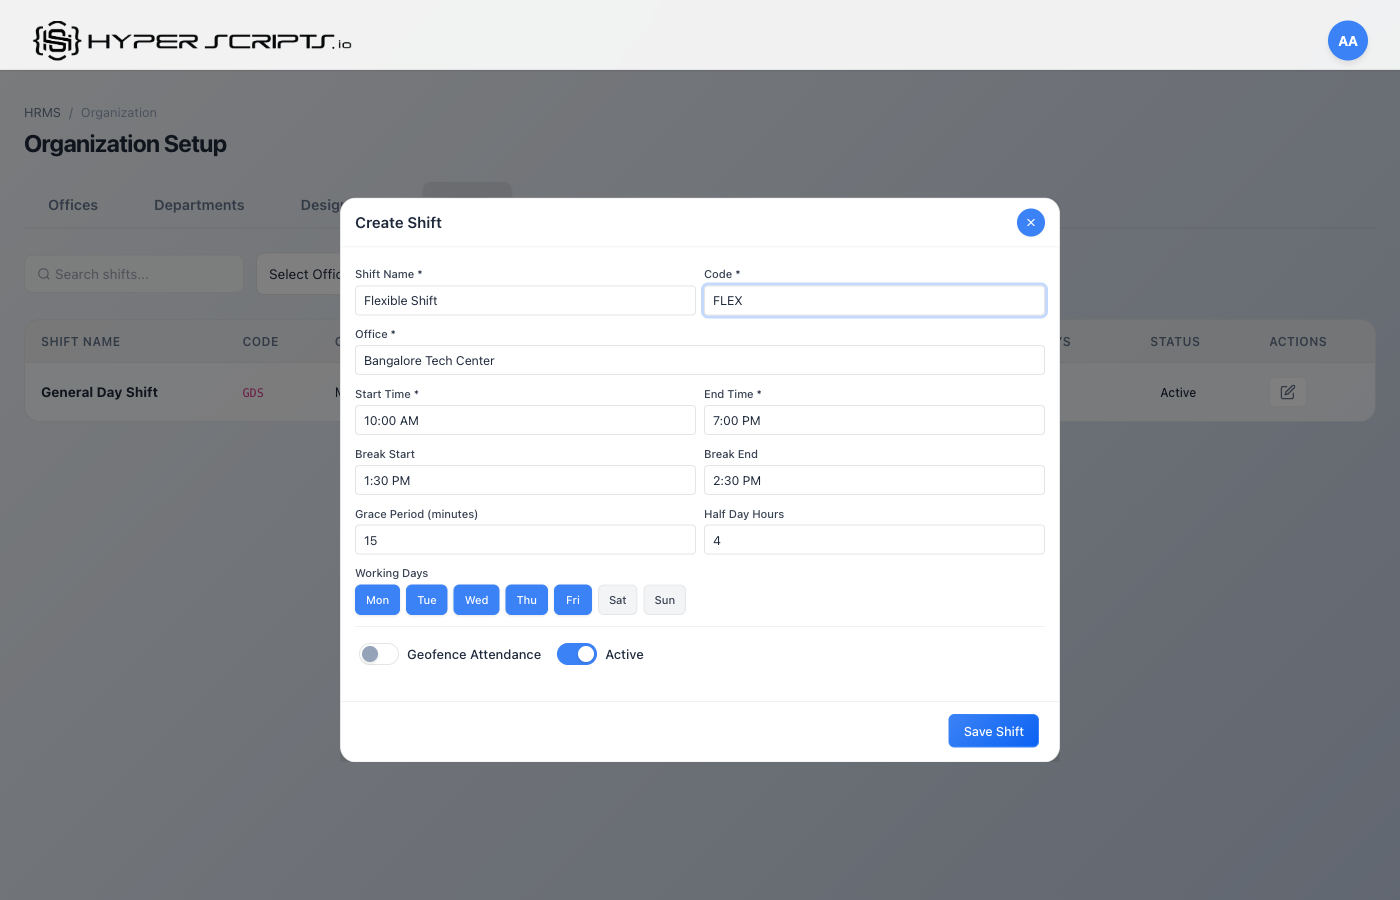
Step 5: Create Flexible Shift
Create a second shift with flexible timing (10:00 AM - 7:00 PM):
Step 6: Create Early Bird Shift with Saturday
Create a third shift with different working days (including Saturday):
All Shifts Created

Shifts List View
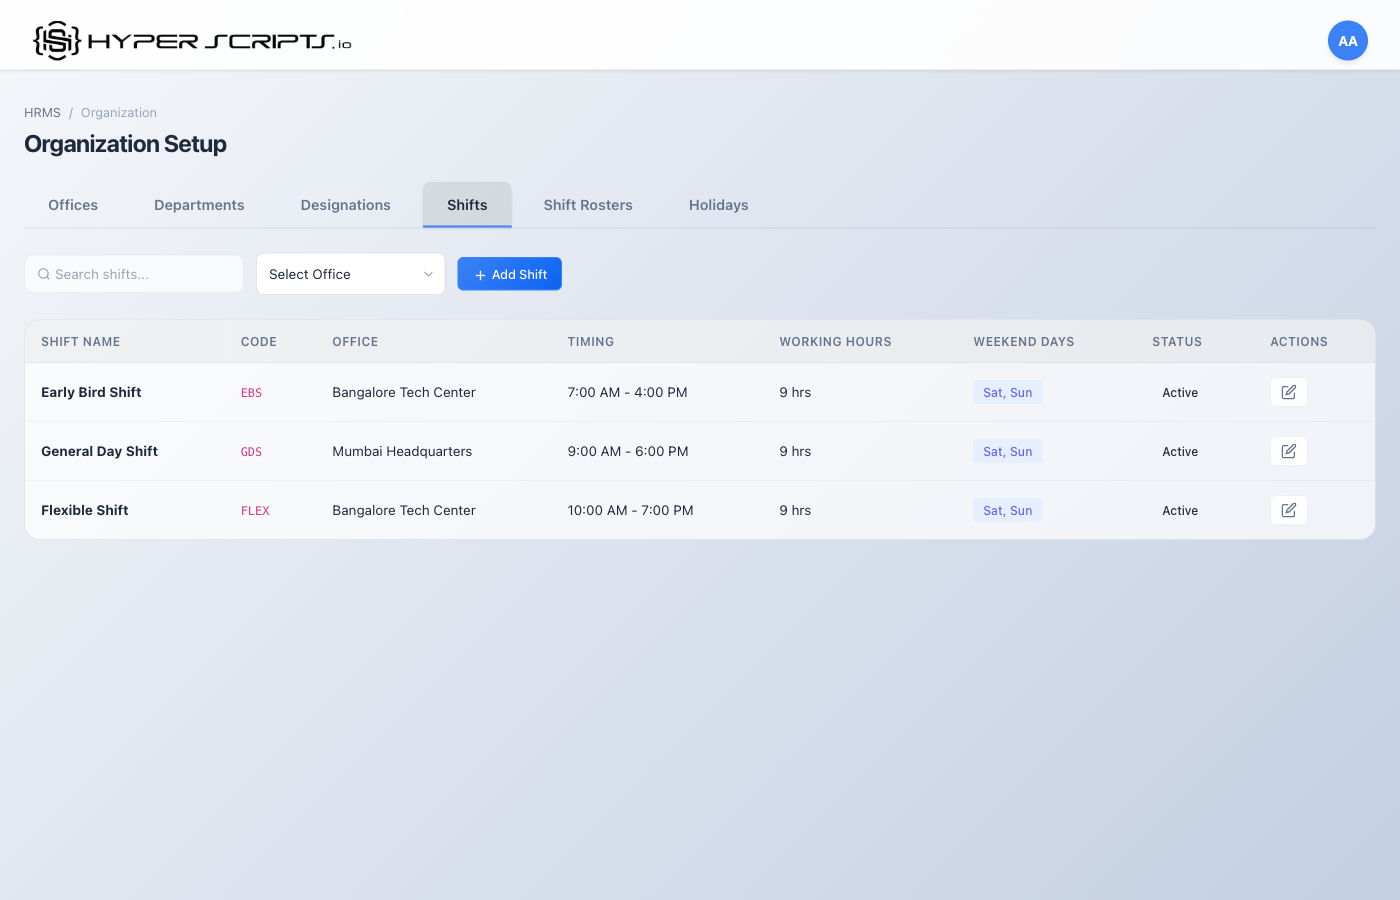
Table Columns
| Column | Description |
|---|---|
| Shift Name | Name of the shift (e.g., "Day Shift") |
| Code | Unique identifier |
| Timing | Start and end time (e.g., "09:00 - 18:00") |
| Break | Duration of break in minutes |
| Weekend Days | Which days are weekends for this shift (e.g., "Sat, Sun") |
| Type | Shows badges for Default, Flexible, or Night shift |
| Status | Active or Inactive |
Creating a New Shift
Field Descriptions
| Field | Required | Description |
|---|---|---|
| Shift Name | Required | Display name (e.g., "Morning Shift") |
| Shift Code | Required | Unique code (e.g., "MORN") |
| Start Time | Required | Shift start time (24-hour format) |
| End Time | Required | Shift end time (24-hour format) |
| Break Duration | Optional | Break time in minutes (deducted from working hours) |
| Grace Period | Optional | Minutes allowed late before marking as late arrival |
| Working Days | Required | Select days employees work (unselected = weekend) |
| Is Default | Optional | If ON, new employees are assigned this shift by default |
| Is Flexible | Optional | If ON, start/end times are guidelines only |
| Is Night Shift | Optional | If ON, indicates this is a night/overnight shift |
Working Days Toggle Interface
When creating or editing a shift, you'll see a row of day toggles. Click each day to toggle it on/off:
- Highlighted (ON): This is a working day
- Not highlighted (OFF): This is a weekend/off day
6 Shift Rosters
Shift Rosters allow you to assign specific employees to specific shifts for defined time periods. This is useful for rotating shifts or temporary schedule changes.
Understanding Shift Rosters
Before you can assign shift rosters, you need to have employees created in the system.
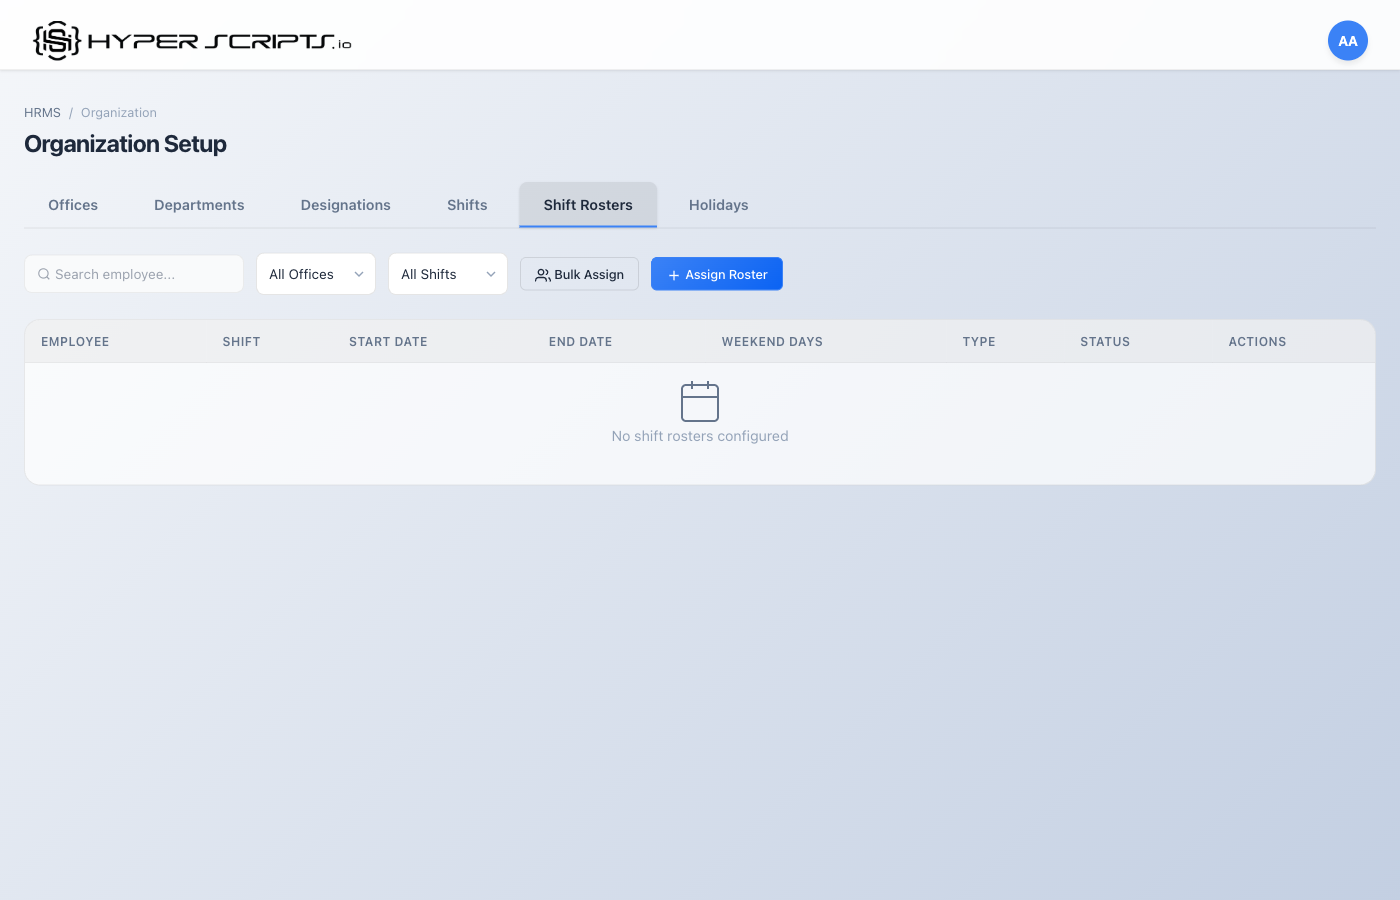
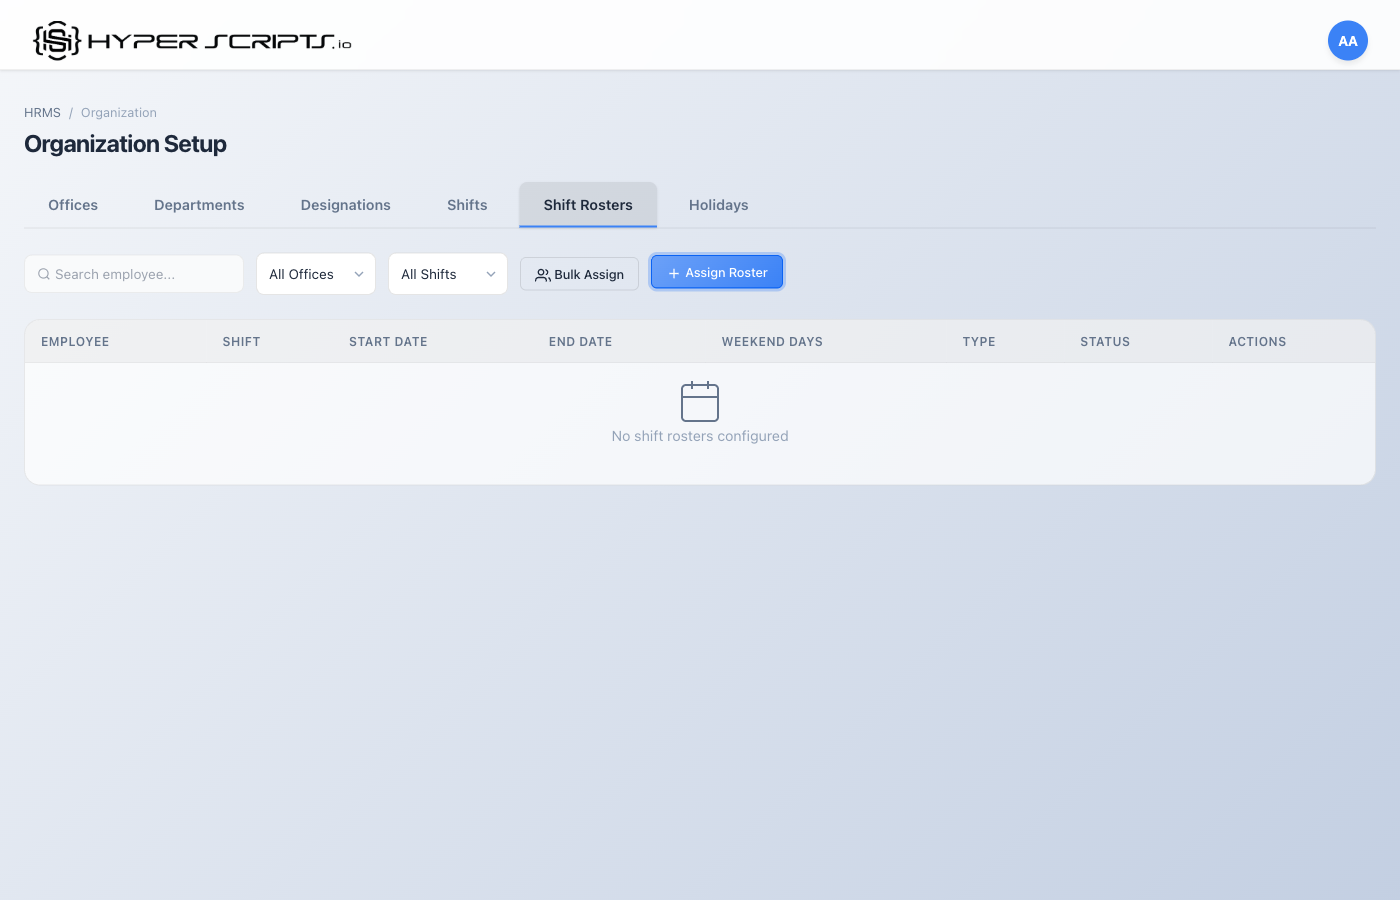
Empty Shift Rosters Tab
When you first navigate to the Shift Rosters tab without any employees:
No Employees Warning
If you try to assign a roster without employees, you'll see a message:
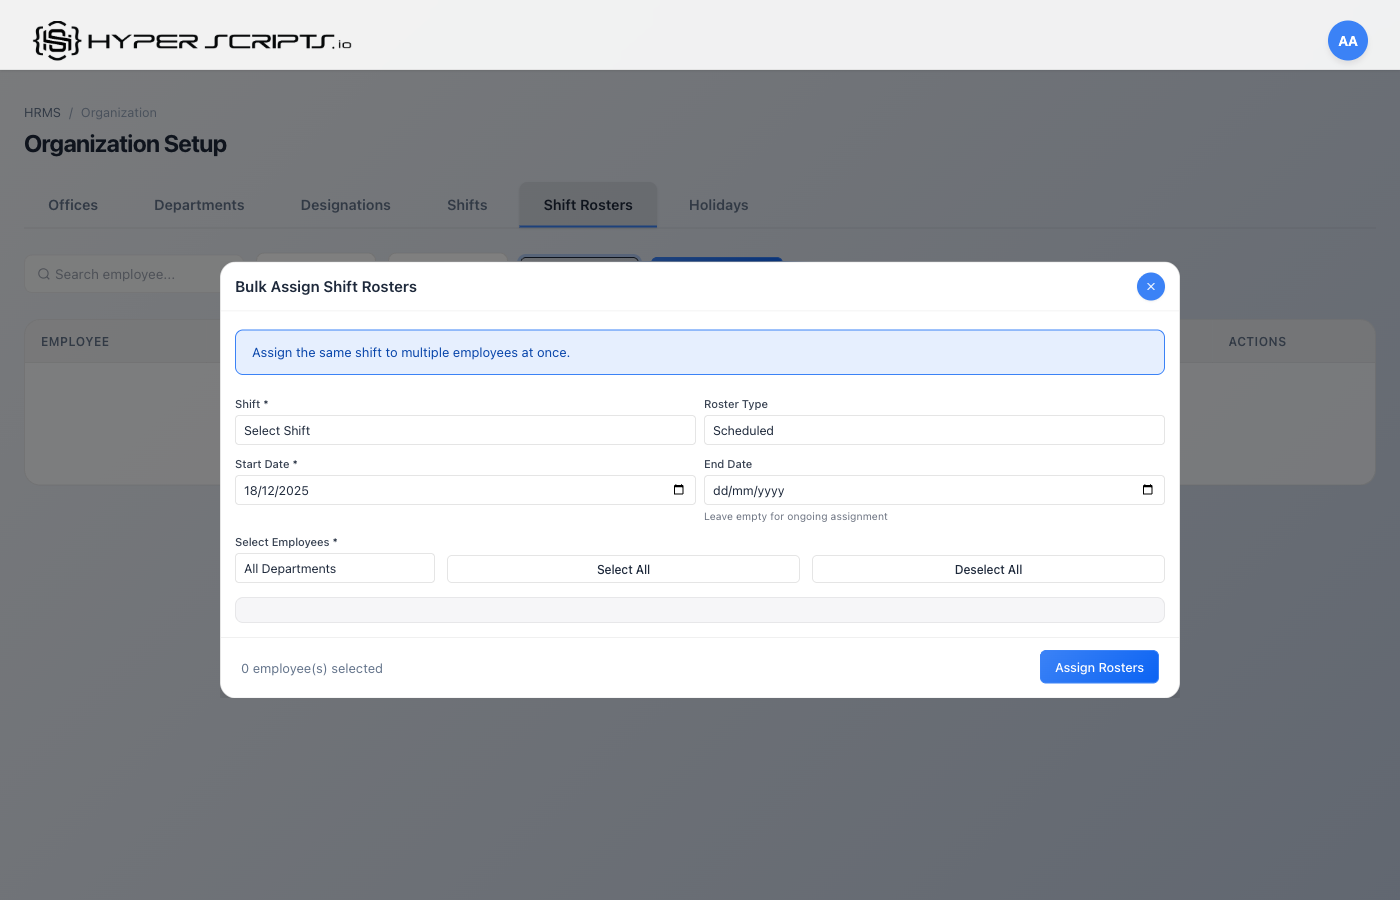
Bulk Assign Modal
Use the "Bulk Assign" button to assign shifts to multiple employees at once:
Shift Selection Dropdown
The shift dropdown shows all available shifts you've created:

Shift Rosters List View
Once you have employees and assign them to rosters, the table will display all assignments:
Table Columns
| Column | Description |
|---|---|
| Employee | Employee name and code |
| Shift | Assigned shift name |
| Start Date | When the roster assignment begins |
| End Date | When the roster assignment ends (empty = ongoing) |
| Weekend Days | Weekend days for this roster period |
| Type | Roster type: Scheduled, Temporary, Swap, or Override |
| Status | Active or Inactive |
Roster Types
| Type | Description | Use Case |
|---|---|---|
| Scheduled | Regular, planned shift assignment | Standard rotation schedules |
| Temporary | Short-term shift change | Cover for absent employee |
| Swap | Shift swap between employees | Employee-requested schedule swap |
| Override | Manual override of default shift | Special circumstances |
7 Holidays
The Holidays tab manages your company holiday calendar. Holidays affect leave calculations, attendance expectations, and payroll processing.
Step-by-Step: Creating Holidays
Follow these steps to create holidays. We'll create 8 holidays for the year 2025.
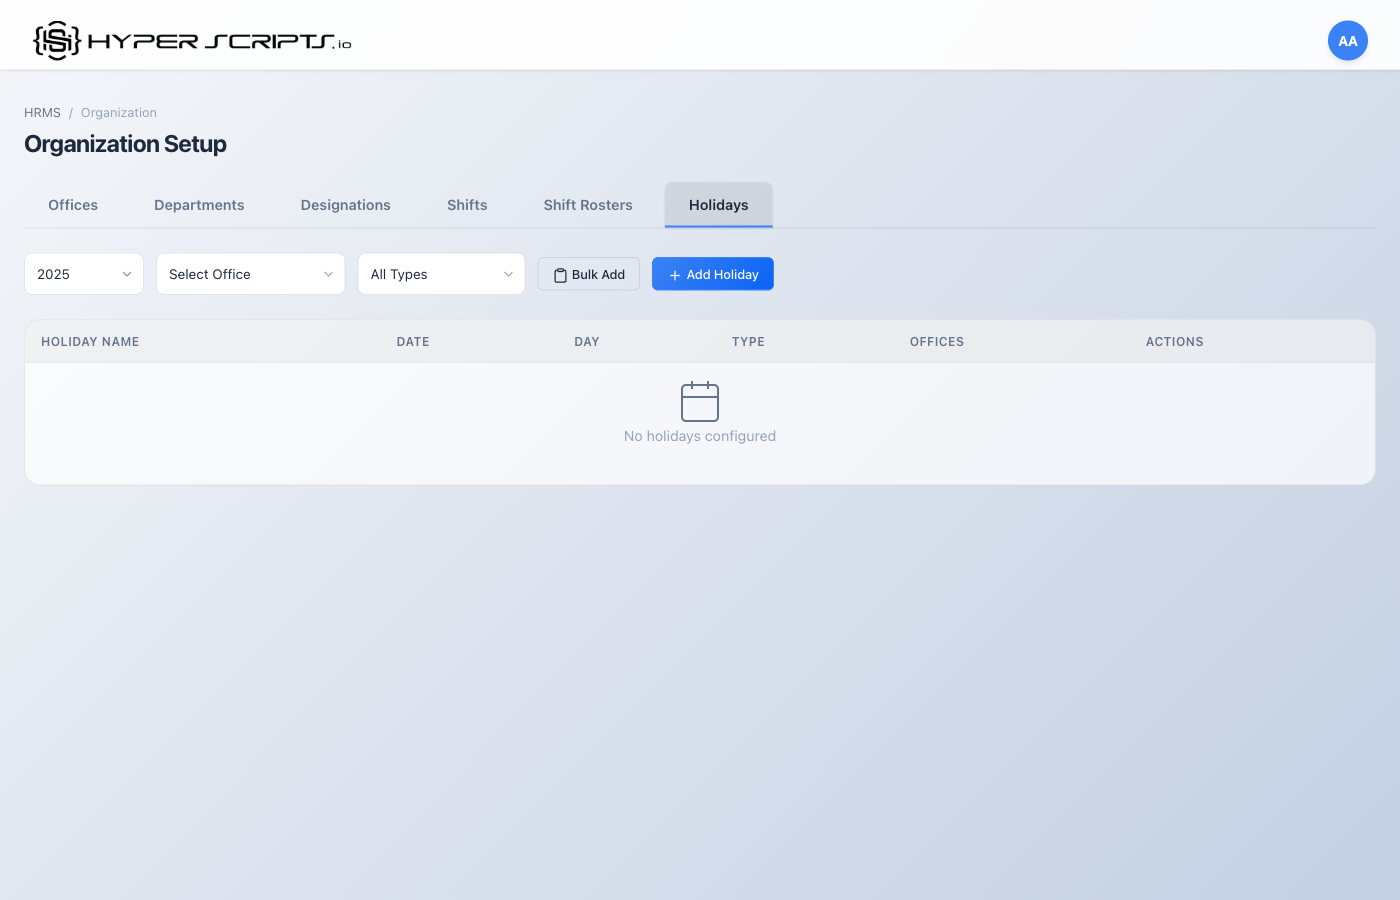
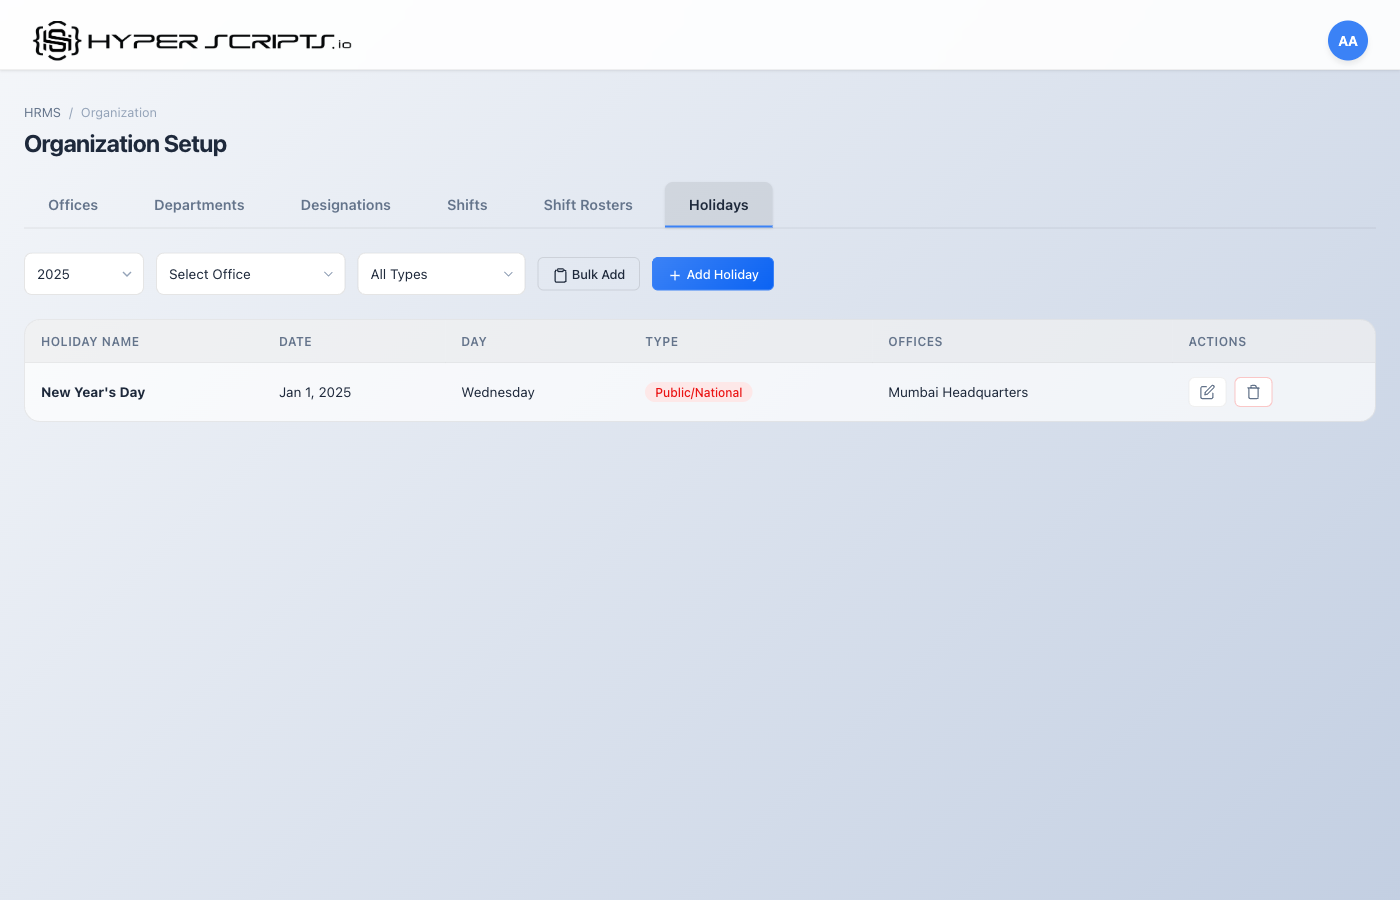
Step 1: View Empty Holidays Tab
When you first navigate to the Holidays tab, you'll see an empty calendar:
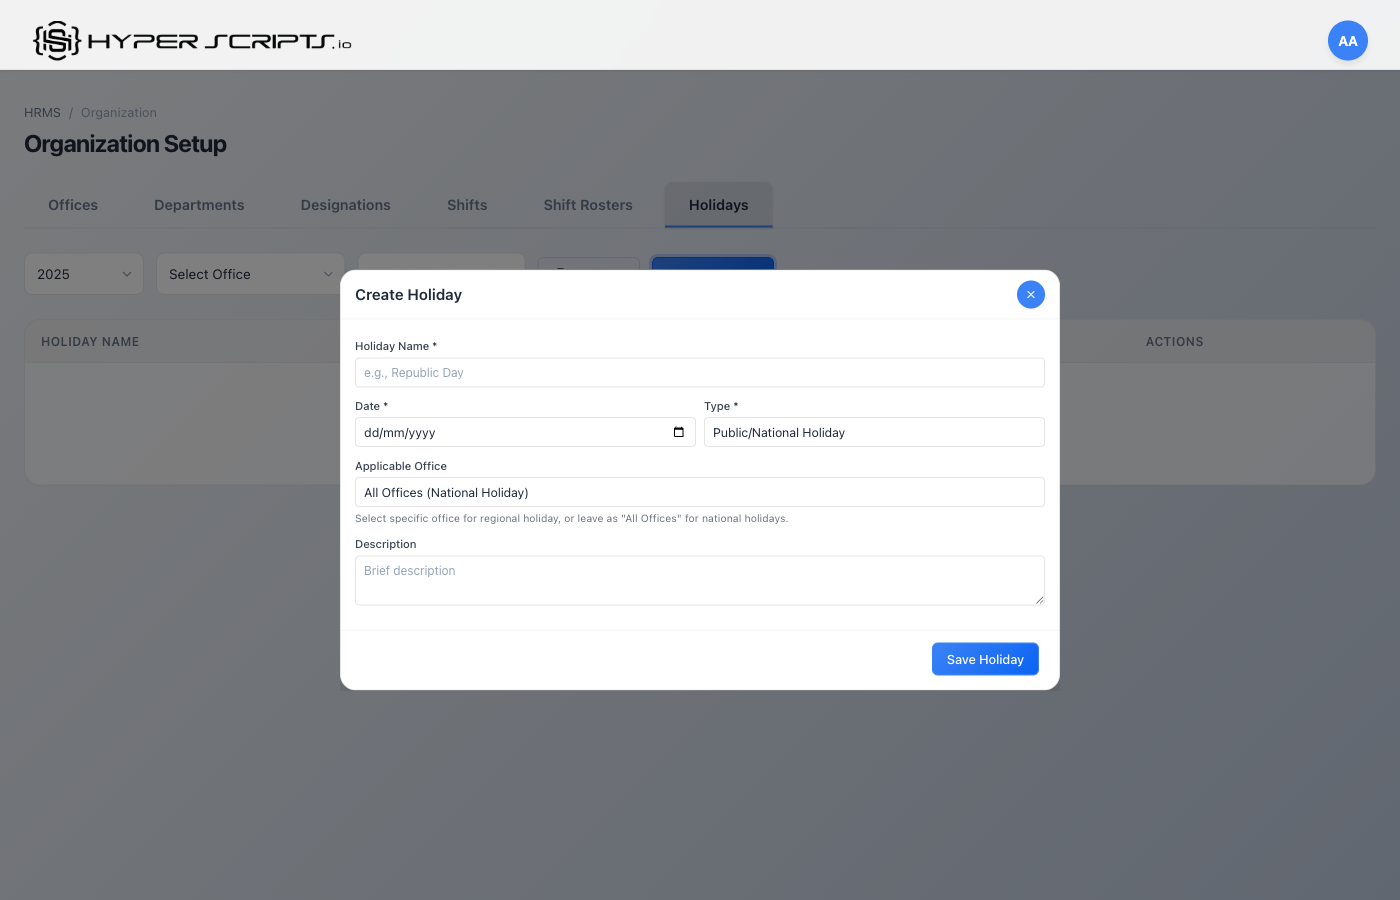
Step 2: Click Add Holiday
Click the "Add Holiday" button to open the Create Holiday modal:
Step 3: View the Result
After saving a holiday, you'll see it appear in both the table and the calendar:
Step 4: Create All Holidays
Repeat the process to create all 8 holidays for the year:
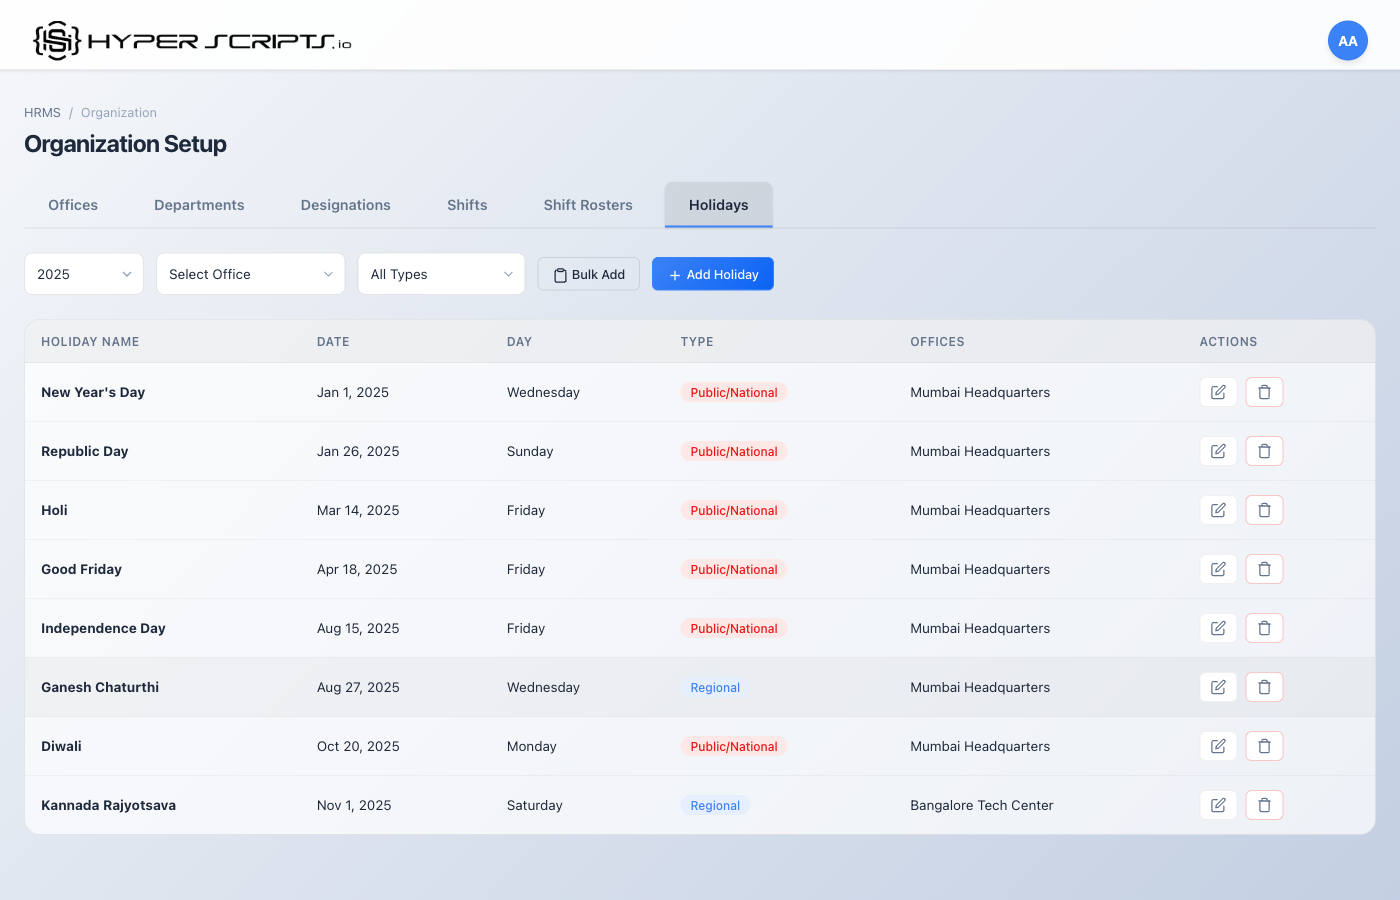
Holidays List View

Filter Bar
The holidays tab includes a comprehensive filter bar at the top to help you find specific holidays:
Filter Options
- Year selector: Filter holidays by year (use arrows or dropdown)
- Office filter: Show holidays for specific office or "All Offices"
- Type filter: Filter by National, Regional, Restricted, or Company holidays
- Search: Type to search holidays by name
Table Columns
| Column | Description |
|---|---|
| Date | Holiday date and day of week |
| Holiday Name | Name of the holiday (e.g., "Diwali") |
| Type | Holiday type with color-coded badge |
| Office | Which office(s) this holiday applies to |
| Optional | Whether holiday is optional/restricted |
| Actions | Edit or delete buttons |
Creating a Single Holiday
Field Descriptions
| Field | Required | Description |
|---|---|---|
| Holiday Name | Required | Name of the holiday |
| Holiday Date | Required | Date of the holiday |
| Holiday Type | Required |
- National: Country-wide holidays- Regional: State/region-specific- Restricted: Optional holidays employees can choose- Company: Company-specific holidays
|
| Office | Optional | Select specific office or leave empty for all offices |
| Is Optional | Optional | If ON, employees can choose to work on this day |
| Description | Optional | Additional details about the holiday |
Bulk Adding Holidays
Use the "Bulk Add" button to add multiple holidays at once - perfect for setting up an entire year's calendar.
Step 1: Click Bulk Add Button
Click the "Bulk Add" button in the holidays toolbar to open the bulk add modal:
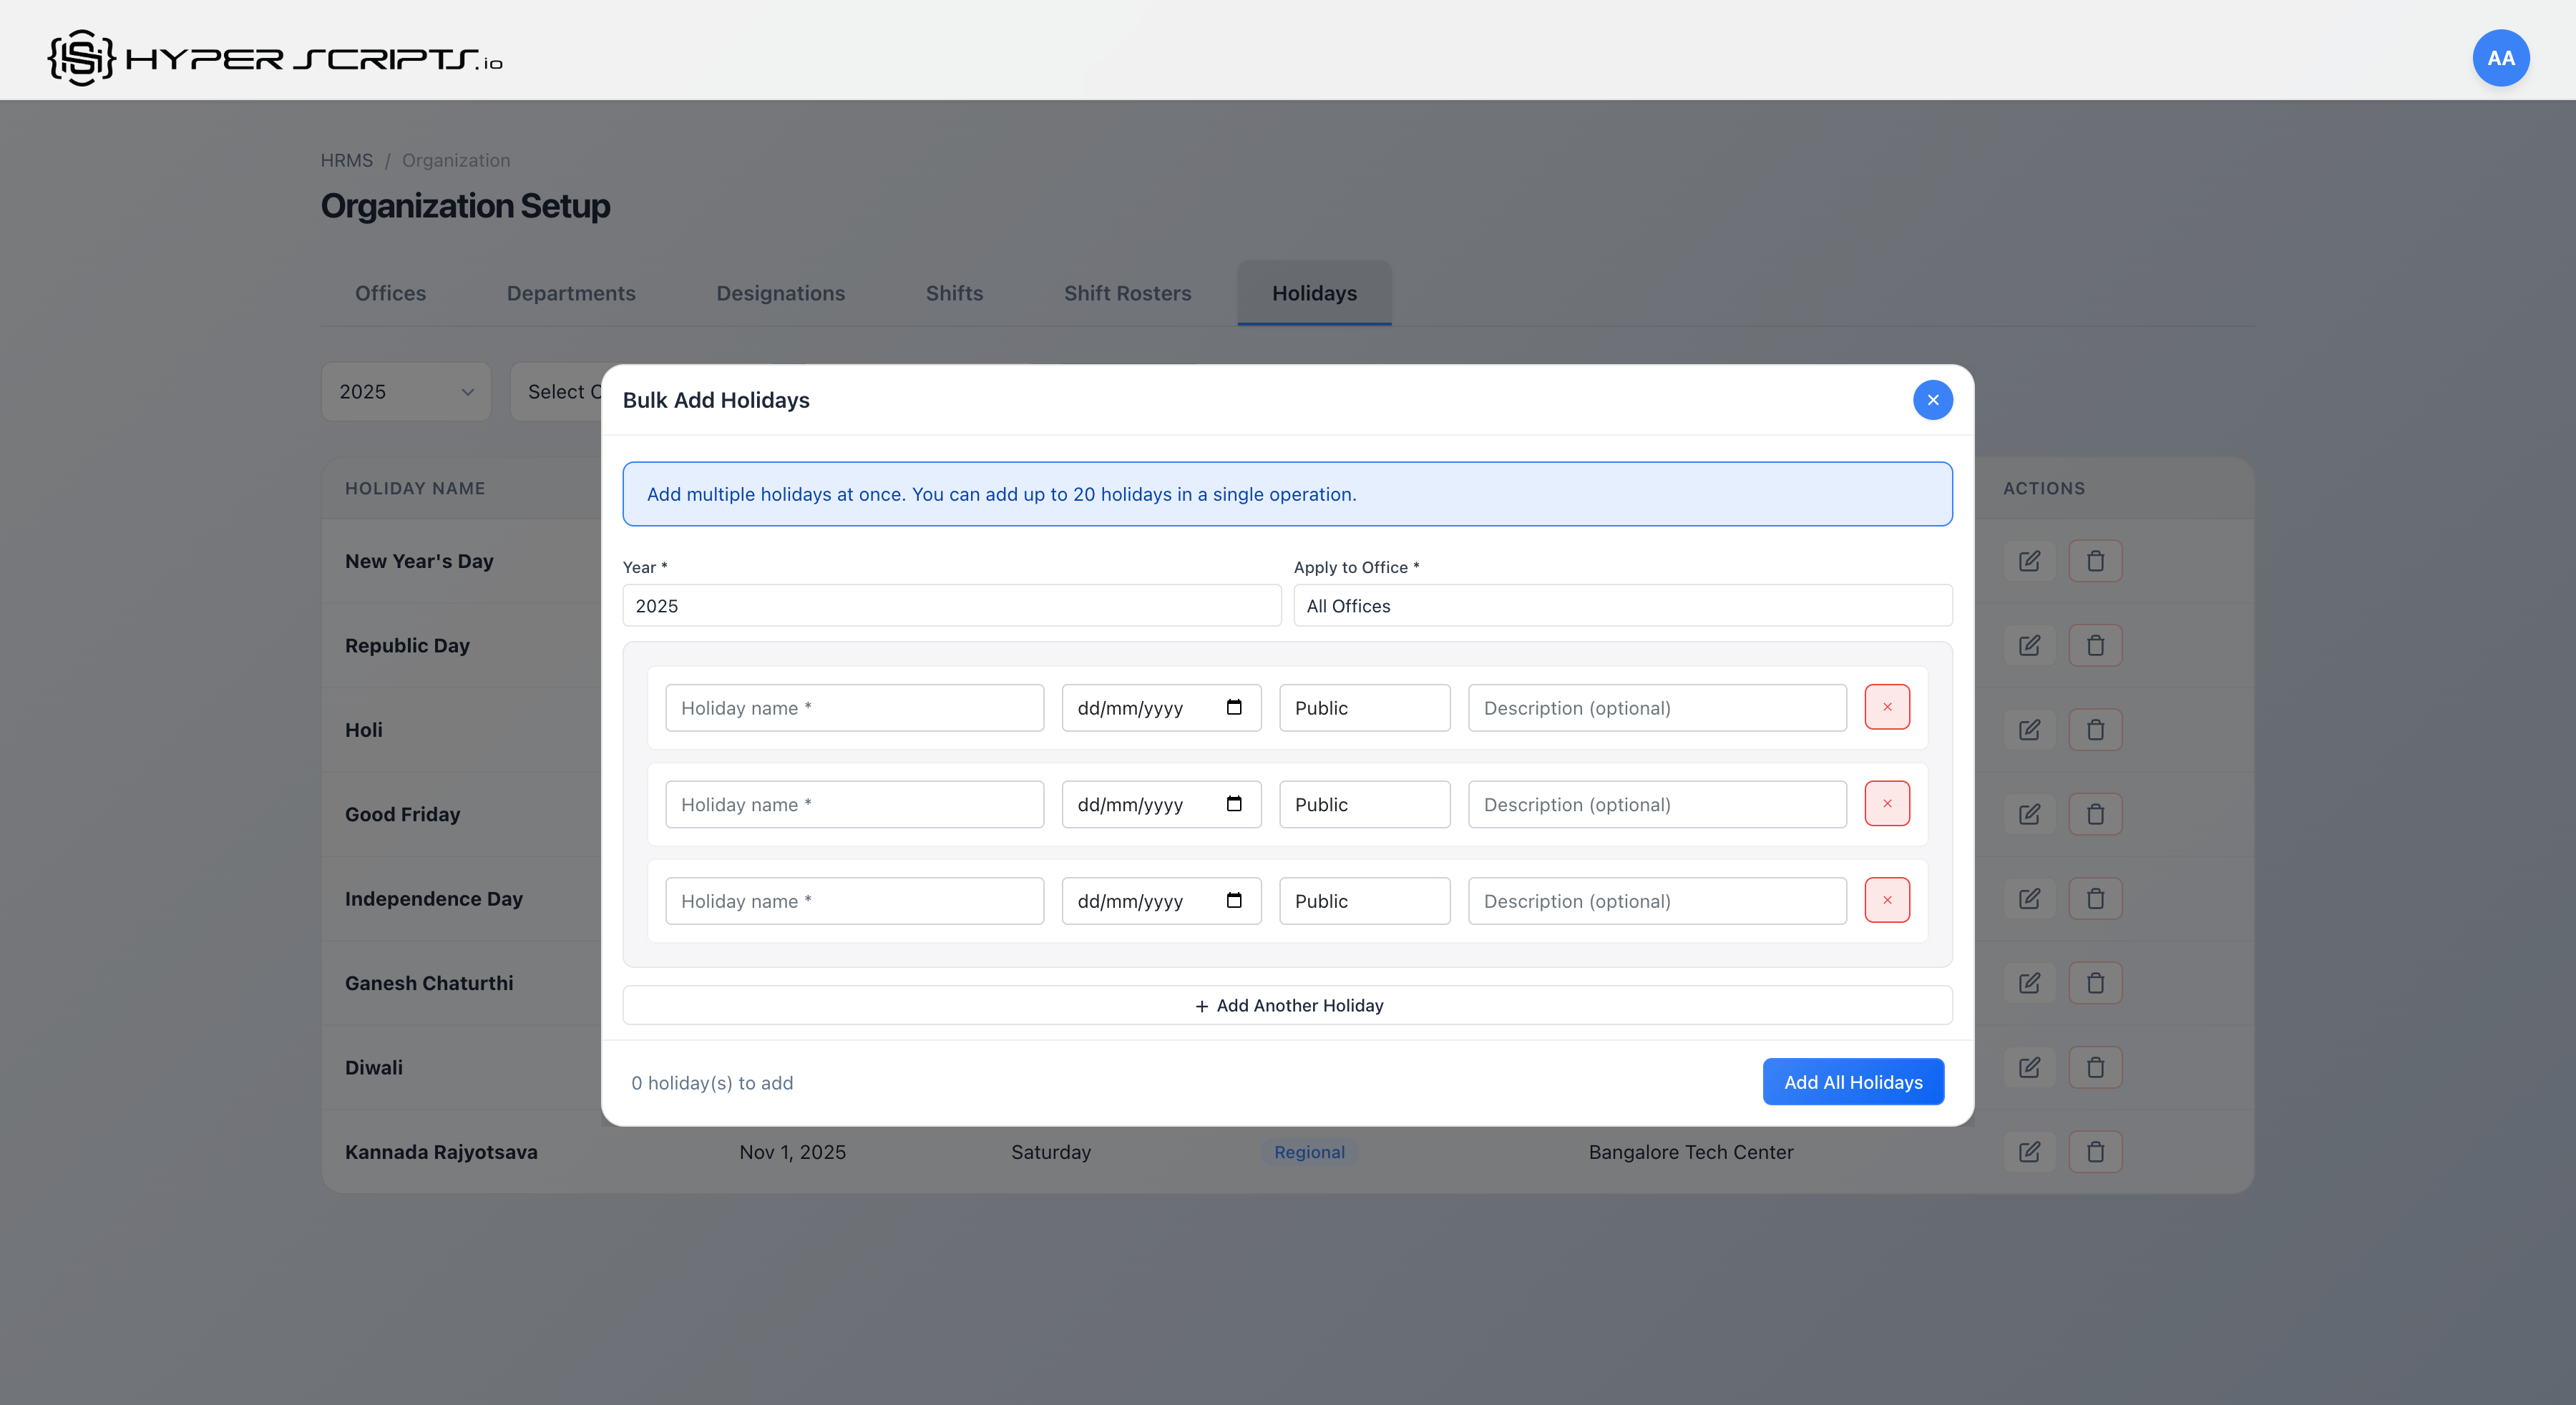
Bulk Add Modal Fields
| Field | Required | Description |
|---|---|---|
| Year | Required | Select the year for the holidays (2024, 2025, 2026) |
| Apply to Office | Required | Choose "All Offices" or a specific office |
| Holiday Name | Required | Name of the holiday (e.g., "Diwali") |
| Date | Required | Date of the holiday |
| Type | Required | Public, Regional, Restricted, or Company |
| Description | Optional | Additional details about the holiday |
Step 2: Add Holiday Rows
Click "Add Another Holiday" to add more rows. You can add up to 20 holidays in a single operation.
Step 3: Save All Holidays
Click "Add All Holidays" to save all the holidays at once. The modal shows a counter of how many holidays will be added.
✓ Setup Checklist
Follow this checklist to ensure your organization is fully configured:
-
Create at least one Office
Set up your headquarters or primary office with correct timezone and weekend policy. -
Define your Departments
Create your organizational structure with parent-child relationships if needed. -
Configure Designations
Set up job titles with salary ranges and role assignments. -
Set up Shifts
Create at least one shift (mark as default) with proper working days. -
Add Holidays for the year
Use Bulk Add to quickly populate the holiday calendar.